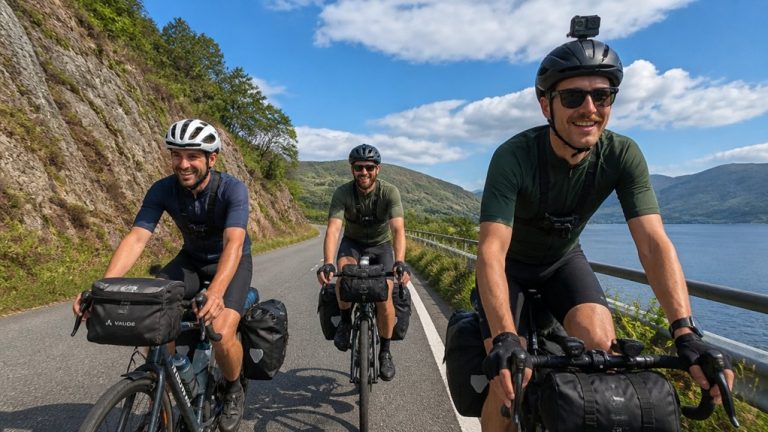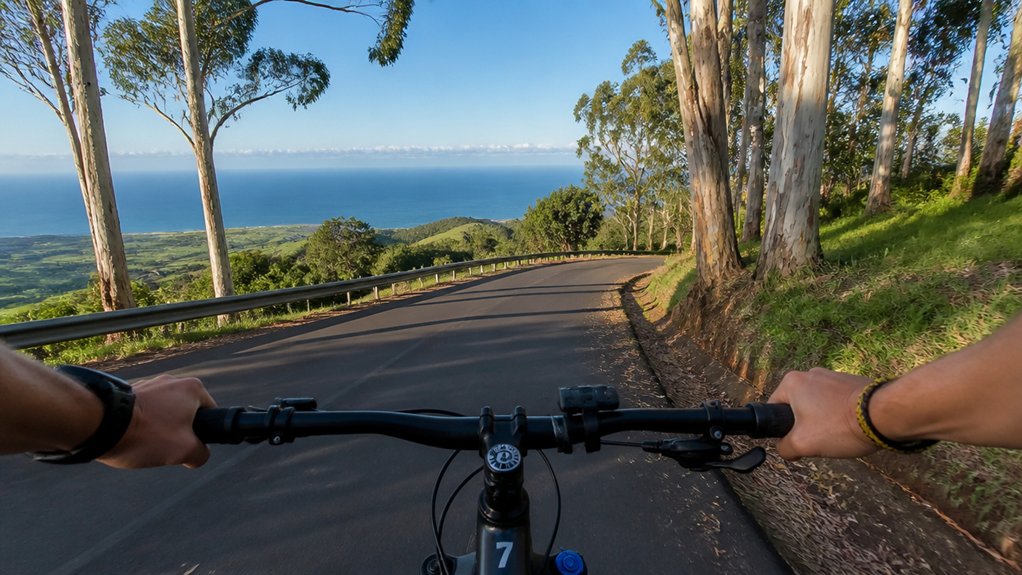
On a Maui bike tour, you don’t get many second chances. The road drops fast, trade winds tap your sleeves, and the light shifts from bright coast to cool eucalyptus in minutes. If your camera sits buried in a pack, the moment’s gone. Keep it close, shoot light, and know when to use blur, when to freeze, and where to pull off safely. A few small choices can turn a downhill ride into a sharp visual story.
Key Takeaways
- Keep a compact camera or phone in a quick-access pouch, with a short clipped strap, spare battery, and checked memory card.
- Use 1/250–1/500s for crisp moving riders, or 1/80–1/125s for panning shots that keep riders sharp with wheel blur.
- Pan from your hips, shoot low angles, and add foreground elements like lava rocks or guardrails to emphasize speed and depth.
- Build a story with wide vistas, rider effort, roadside details, and finish-line frames, capturing a few candid moments each hour.
- Prioritize safety by shooting only from secure pull-offs and timing scenic stops around golden hour for warm light and rim highlights.
Keep Your Camera Ready on a Maui Bike Tour

Often, the best Maui bike shots appear fast, right as the road bends and the coastline flashes into view, so keep your camera ready where you can grab it in seconds. Mount it in a handlebar pouch or clip it where your hand finds it fast. You don’t get long on Maui’s winding roads.
Use a telezoom, or your phone’s 2x or 3x lens, so you can stay back from traffic and still frame riders tight against lava rock and sea spray. Keep the camera strap short and clipped to your body. That prevents swing and distraction. For the most flattering light, aim to shoot during golden hour, when Maui’s early morning or late afternoon sun adds warmth and soft contrast to moving riders. Wear a bright vest when you step around for angles. Bring a spare battery or power bank, and check Memory cards before long rides. Low shots from handlebar height add drama.
Pack Light Photo Gear for Maui Rides
Travel lighter and you’ll shoot better on Maui’s rides, especially when the road kicks up and the trade winds start fussing with every loose strap. On your bike, pack light with a compact mirrorless camera or just your smartphone. Keep your total kit under four pounds so climbs feel smoother and coastal stretches stay fun.
Choose one versatile lens, like a 24 to 70 or 24 to 105 equivalent, so you can take photos without stopping to swap glass. Bring one spare battery and one big memory card. That’s enough for a long day of lava views, bright surf, and sudden rain. Skip the second body, extra lenses, and tripod. Use a padded top tube pouch or quick access clip, and add a light rain sleeve. Dress in breathable layers and comfortable bike tour clothing so you stay cool, protected, and ready to shoot throughout the ride.
Set Shutter Speed for Maui Bike Shots
Dial in your shutter speed, and Maui’s bike scenes start to look the way they feel on the road. On bright descents, start around 1/250 to 1/500 second. That range works well for handholding and gives you crisp riders with a hint of wheel blur. If you’re pacing a cyclist from a car or van, go faster at 1/500s or above to beat shake.
For jitter-free footage, keep your camera movement as steady as possible while matching your speed to the rider. When light softens at dawn or evening, try 1/30 to 1/60 second and raise ISO if needed. For a sharp rider with lively wheels, 1/125 second often hits a sweet spot, especially with a 70 to 200mm lens. Save 1/80 to 1/160 second for straight coastal roads where smooth panning feels natural and the sea breeze almost edits the frame for you.
Pan Maui Bike Shots for Motion Blur
Lean into the pan, and Maui’s bike routes turn into ribbons of color behind a sharp rider. Use a telezoom like a 70–200mm f/2.8 and stand at hip level for smooth movement and tight framing. On a Haleakala downhill tour, changing elevations and light can make practicing your pan timing even more rewarding. Choose a straight stretch or corner exit, then track the rider with your torso and hips. Exhale, press the shutter button through the motion, and keep a steady distance.
| Move | Why |
|---|---|
| Pan from hips | Smoother blur |
| 1/80–1/125s | Balanced detail |
| Continuous Low burst | More keepers |
Stay behind barriers and let the longer focal length do the sneaking. Moderate blur usually lives around 1/80 to 1/125 second. Go slower for wilder streaks, faster if you want more bike detail. A clean pass feels almost musical. Tires hum, palms flash, and one frame just clicks.
Use Low Angles for Dynamic Bike Photos
After you’ve nailed the pan, get low and Maui’s bike routes start to look bigger, faster, and a little more dramatic. Drop to about fuel-tank height, roughly 30 to 60 centimeters off the ground, and riders suddenly own the frame. Their wheels cut clean arcs against open sky or the distant Haleakalā ridgeline, which feels wonderfully cinematic.
Low angles work even better with a telezoom. A 70 to 200mm lets you stay back behind barriers, compress the scene, and trim away messy roadside clutter. Keep your kit light so you can kneel, recompose, and hustle to the next pullout. On the Paia to Ho’okipa route, those low perspectives can make the North Shore breeze and ocean-side backdrop feel even more dramatic. Try panning at 1/80s for slower riders or 1/125s on faster descents. Add foreground elements like soft lava rocks, foliage, or a guardrail edge for depth and extra speed cues.
Use Maui Light to Expose Moving Riders
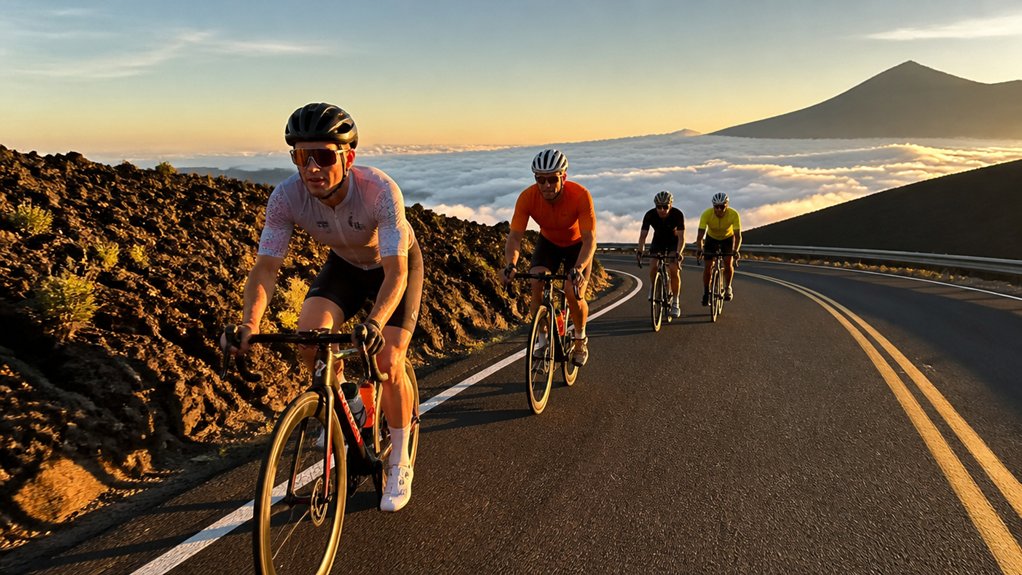
On Maui, you’ll get your cleanest action shots during golden hour, when warm side light lifts riders off the road and puts a soft glow on helmets, dust, and ocean air. Meter for the rider, then pull exposure down a touch in bright backlight so you keep skin tones and sky detail instead of a big white glare. If you place the sun off to one side, you’ll hold texture in the shadows and catch a sharp rim of light along the bike, which feels a little like cheating in the best way. Choosing a best time of day for your ride can make these lighting conditions much easier to catch consistently.
Golden Hour Exposure
Often, Maui’s golden hour gives you just enough warm side light to make moving riders glow, but not much time to fiddle with settings. Set ISO low at 100 to 200, open to f/2.8 to f/4, and let the telezoom help you isolate faces in that fast-changing light.
- For crisp riders during panning, aim for 1/125 to 1/250s on a 70 to 200mm lens.
- Want more speed streaks? Drop to 1/60 or 1/80s and track smoothly as tires hum past lava rock.
- Meter for faces with spot or center-weighted mode, then underexpose by 1/3 to 2/3 stop if highlights start clipping.
Bring essential gear like a spare battery so you can keep shooting without interruption as the light changes. Keep the sun off-frame when you can. Shoot continuous low burst mode, carry a spare battery, and move quickly. Golden hour disappears fast on Maui.
Backlight And Shadows
Usually, Maui’s best backlight shows up 30 to 90 minutes after sunrise or before sunset, when the sun slips behind the riders and draws a clean rim of gold along helmets, shoulders, and spinning wheels. Use spot metering or center-weighted metering, then add +1/3 to +1 EV so faces don’t sink into shadows. If you’re filming with a GoPro, turn on HyperSmooth stabilization to keep moving bike-tour footage steady while the light shifts around your riders.
| Goal | Setting | Result |
|---|---|---|
| Freeze action | 1/500s, f/2.8–f/4 | Sharp rider, soft background |
| Pan motion | 1/80–1/125s | Blur streaks, crisp rim light |
Watch lava or ocean glare for hot spots. If highlights flare, underexpose slightly or wait for thin clouds. You can even block light with your body for a beat. Use palm fronds or guardrail shadows as frames, and place riders between shadow bands so the backlight feels dramatic, not lost.
Build a Maui Bike Tour Photo Story
How do you turn a day of downhill miles and big Maui views into a photo story that feels complete? You plan before you take photos. Think in sequences, not singles. A 20 to 30 frame set works well for telling a story and making better bike touring memories, especially when golden hour adds warm light.
- Map the arc: departure, big vistas, roadside details, rider effort, and the finish.
- Mix context: shoot one low wide scene, one medium rider-and-bike frame, and one close detail like tire tread or a dusty bottle.
- Keep it honest: grab 3 to 5 candid moments each hour, plus low panning shots, one reverse-panned blur, and a few still environment frames.
If your route includes the West Maui Loop, plan a few safe pull-off photo stops so the scenic rewards never outweigh smart riding decisions.
You’ll end with images that sound like wind, look like lava, and feel like Maui moving.
Frequently Asked Questions
How Can I Avoid Repetitive Landscape Shots on a Maui Bike Tour?
Avoid repetitive landscape shots by varying perspectives, include foreground, change focal lengths, and add human elements. Limit each stop to a wide, mid, and detail frame, and shoot your bike or rider often for storytelling.
Should I Center Riders or Use the Rule of Thirds?
Use the rule of thirds: you create dynamic framing, preserve negative space, and guide eyes with leading lines. Reserve centered portraiture for symmetry, for tension, for impact, otherwise, you’ll lose motion, depth, and energy.
How Do I Photograph Awkwardly Tall Subjects While Biking?
Photograph awkwardly tall subjects by shooting from ground level, using telephoto compression, and framing vertically. You’ll create an angled perspective with foreground elements, or go helmet mounted and get close so the subject doesn’t shrink.
Are Candid Photos Better Than Posed Shots on Bike Tours?
Yes, if you test the theory, you’ll find candid photos usually work better. You capture Natural moments, Authentic expressions, Unscripted interactions, and stronger Emotion capture; save posed shots for milestones, because they still anchor your bike-tour story.
Where Can I Find Inspiration for Maui Bike Tour Photography?
You’ll find inspiration through local photographers, travel blogs, island galleries, and cycling forums. Check Instagram hashtags, Flickr groups, local magazines, and Strava heatmaps too, they’ll show you scenic angles, storytelling sequences, and popular Maui ride viewpoints.
Conclusion
Maybe the best Maui bike photos come from motion, not from stopping. Test that theory on your next descent. Keep your camera handy, watch the light turn the road gold, and listen for tires humming over warm pavement. Try one low shot, one pan, one quick candid at a safe pull-off. You’ll come home with salt on your skin, dust on your shoes, and a set of images that feels like the ride itself.