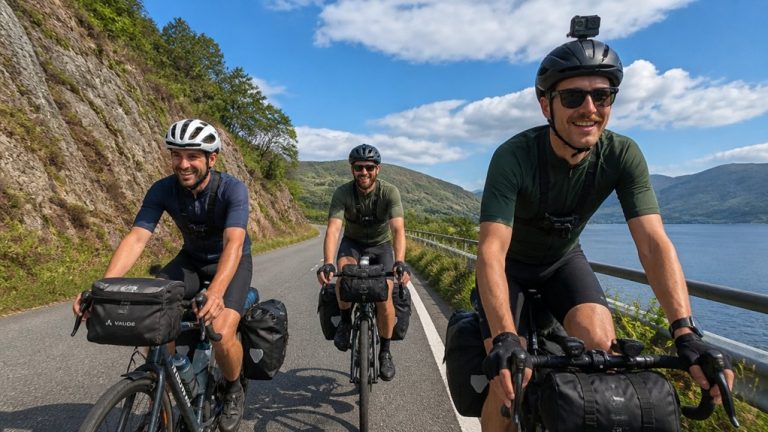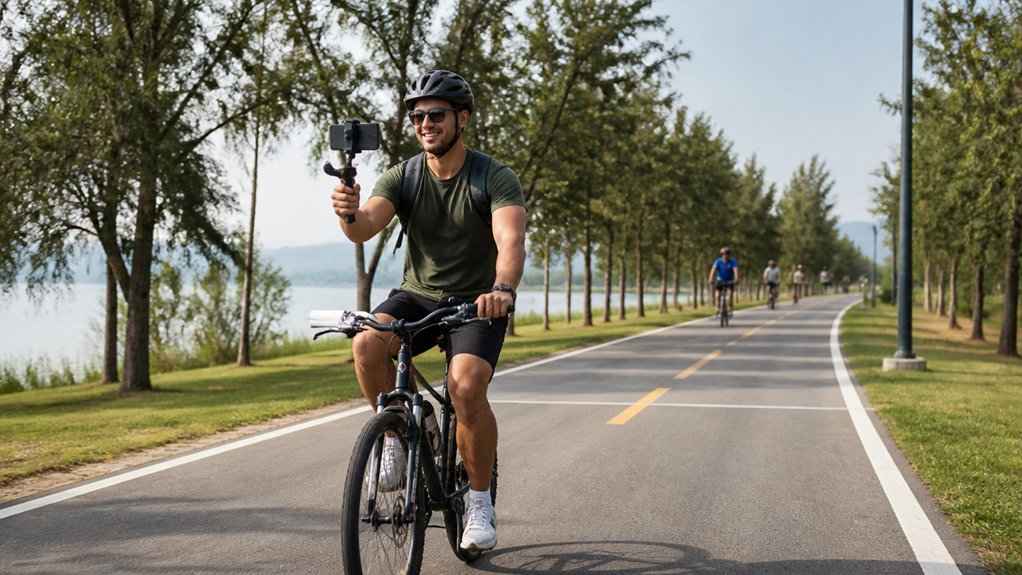
The road hums under your tires, trees flick past, and your bars twitch over rough chipseal. You want video that feels like that ride, just without the nervous shake. Start with where you mount the camera, because a head or high chest setup can turn jitter into smooth forward motion. Then you can fine-tune stabilization, framing, and that tricky line between silky footage and the honest buzz of the road.
Key Takeaways
- Mount the camera on your helmet or high chest, not the handlebars, for smoother footage on rough touring roads.
- Position a chest mount high under your chin, centered and tightly cinched to reduce wobble and bounce.
- Use in-camera stabilization moderately, shoot wide at high resolution, and avoid maximum crop to preserve detail and natural motion.
- Keep your head movements smooth, or add a lightweight three-axis gimbal if you want steadier shots and can manage the extra bulk.
- Preserve some natural vibration and body sway so the video still feels fast, real, and connected to the road.
Choose the Best Bike Camera Mount
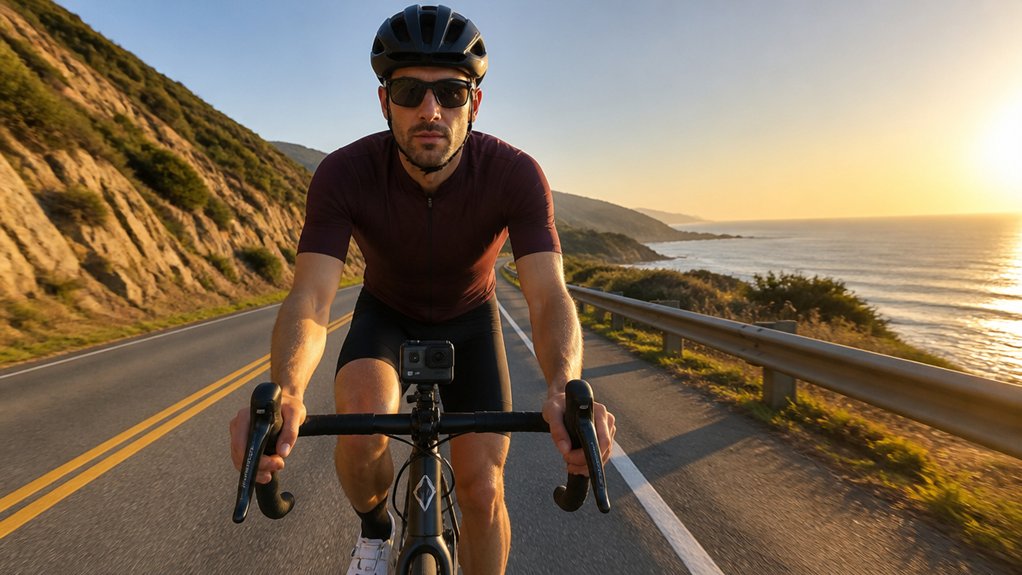
Start with the mount, because it shapes how your whole ride will feel on screen. If smoothness matters most, skip bike mounts. They pick up every ripple, rattle, and pothole, so your footage can look like your handlebars drank too much coffee.
A head mount usually gives you the steadiest view. Your body acts like natural suspension, softening bumps before they hit the camera. The tradeoff is context. Viewers won’t see much of your hands or bike.
A chest mount offers a stronger balance. It keeps the ride fairly smooth while showing bars, brake levers, and your moving hands. For many riders, the real choice comes down to helmet vs chest because both usually work better than a handlebar mount on rough touring roads. If you want ultra-steady footage, pair it with a three-axis gimbal. Just remember the extra bulk, battery needs, and crash risk before you roll out.
Set Your Chest Mount High and Tight
Set your chest mount high under your chin and cinch the harness firm so your torso can soak up the road chatter instead of passing it to the camera. Keep the mount centered on your sternum, and you’ll catch your bars and hand movement while cutting down the side-to-side wobble that makes footage feel twitchy. Before a long ride, give the straps one more tug, because a snug high mount can turn rough gravel buzz into video that feels calm and surprisingly polished. On Maui bike tours, follow helmet rules and make sure your helmet fits properly before you start filming.
Mount Under Chin
Often, the smoothest chest-mount footage comes when you wear the harness as high as you comfortably can, right under your chin. That position puts the camera near your torso’s center, so your POV footage shows less pitch when the bike chatters over rough pavement. Keep it lined up with your sternum and centered over the bars. You’ll catch your hands, the road, and those really cool little glances of the world moving around you. If your GoPro offers stabilization settings, turn them on to help smooth out small vibrations from rough roads.
| Position | Result |
|---|---|
| Under chin | Less pitch and yaw |
| Centered on sternum | Smoother forward view |
If your camera supports it, try mounting it upside down for a steadier fit. Check the height before a long day. Too low exaggerates bumps. Too high feels awkward and can make breathing harder on climbs.
Tighten Harness Firmly
Cinch the chest harness high and tight so it sits under your collarbone or just below your chin, where it bounces less and keeps the camera calmer over rough pavement.
Pull the straps snug and secure every loose tail so nothing slips when you climb or rise out of the saddle. Keep the camera plate close to your chest with no extension hanging out front. That short setup cuts leverage and trims rotational jitter from your torso. Test the fit before rolling. Bounce lightly and lean forward and back. If the harness shifts more than a finger’s width, tighten it again. On long days, good padding placement helps prevent rubbing. Smart sweat management matters too, because damp straps can relax. This matters even more on long descents, where frequent downhill braking can fatigue your hands and make any loose setup feel shakier. Make strap maintenance a habit at snack stops and trail signs.
Still comparing How To Film Smooth Bike Tour Video (No Jitters)?
Ask for tour ideas, hotel suggestions, or a simple trip plan that combines both.
Trip Helper
Reduce Chest Bounce
Once the harness feels firm, the next win comes from cutting the little pogo-stick bounce that shows up on rough streets and chipseal. Set the mount high, near your collarbone, so the camera follows your torso instead of bouncing like loose luggage. Keep it snug, but leave your breath rhythm natural.
- Pull every strap tight and clip the sternum buckle so the rig hugs your chest plate.
- If your mount allows it, flip the camera upside-down. That often adds stiffness and steadiness.
- Slip in thin shock pads or a foam shim to fill tiny gaps and mute buzz without pinching.
- Take a short test ride on smooth pavement and rough patches. If bobbing remains, raise the mount slightly or tighten one notch.
You want motion, not trampoline energy on descents. Smooth filming also gets easier when your pedaling stays even through smooth shifting, since sudden surges can add extra camera bounce.
Use a Head Mount for Smoother POV

Usually, a head mount gives you the smoothest POV on a bike tour because your body and neck soak up the small hits and chatter that make handlebar and chest shots twitchy. That natural suspension cuts helmet vibration and helps your footage follow a stable gaze down dusty lanes, pine-lined descents, and rattly village streets. Keep the camera mounted firmly to your helmet or head strap. On routes where riders may wonder about Haleakala Bike Tour safety, a stable head-mounted view can also make it easier to review road conditions clearly in your footage afterward.
Use lightweight rigs so the mount doesn’t swing like a tiny pendulum over washboard gravel. You’ll still need to ride with intention. If you snap your head at every bird, sign, or bakery window, jitters creep back in. Head mounts also hide your hands and bars, and they can make speed feel calmer. Mix your shot choices later if you want more context and a stronger rush.
Add a Gimbal for Smoother Bike Footage
Adding a gimbal can take the edge off rough bike footage when the road turns from smooth pavement to chipseal, cobbles, or washboard gravel. A three-axis model steadies pitch, roll, and yaw, so your view feels calmer and more cinematic. On a Maui bike tour, early light can also help your moving footage look cleaner and more vivid.
- Mount it high on a chest harness under your chin. You’ll catch bars and hands while your torso adds soft suspension.
- Keep it light. Good motor protection matters because a smack from the handlebars can damage the gimbal or make it bottom out.
- Ride with its limits in mind. Big jolts still show, so pick smooth lines and watch cable routing.
- Plan battery management. Most gimbals cost a few hundred and need regular charging, especially on long tour days. Extra bulk is the tradeoff, but smoother clips often feel worth it.
Use In-Camera Stabilization Wisely
Often, in-camera stabilization does more than people expect, but it works best when you understand what it’s really doing. Your camera captures a larger image, then floats a smaller frame inside it to cancel jitters. That crop helps, but it can reduce detail, so shoot wide and high to maximize resolution.
You’ll get better results if you also use a higher framerate. It gives stabilization more room to work and keeps motion blur from turning rough pavement into mush. This matters even more on rides like the Haleakala downhill bike experience, where long descents can magnify vibration and chatter. Still, know the stabilization limits. Hard hits, washboard gravel, and quick bar turns can overwhelm it and cause sudden jolts. A steady chest or head mount helps a lot, and a calm setup beats software heroics. Dial the effect up or down depending on whether you want silky calm or honest road buzz.
Use a 360 Camera for Reframing
For maximum flexibility, a 360 camera lets you capture the whole world around the bike and decide later where the viewer looks. You reframe in post, pulling a stabilized virtual camera from the sphere, so rough pavement won’t force the view to bottom out.
- Mount it centrally on your chest or helmet for cleaner motion.
- Shoot the highest resolution and use high bitrate recording, because heavy cropping shrinks final detail.
- Leave headroom, enable horizon leveling, and keep exposure consistent so keyframed pans feel calm and natural.
- Watch for stitching artifacts near seams. Keep handlebars, helmet edges, and close objects away from stitch lines.
A 360 file gives you room to follow a river bend, a passing truck, or sunrise on wet asphalt, without frantic mid-ride guesswork or awkward surprises later. Smooth, stable reframing can also reduce motion sickness on fast downhill tours by keeping the horizon calmer for viewers.
Balance Smoothness With Real Riding Feel
You want smooth footage, but you also want the road to feel alive, with speed in the bars, wind in the mic, and a little honest chatter from the trail. If you smooth every bump away, your ride can start to look oddly slow, so match your camera setup to the kind of story you want to tell. A tight chest mount, lighter stabilization, or even a head mount can keep things steady while still letting your viewers feel the ride in their bones. Wearing comfortable shoes on Maui bike tours can also help you stay relaxed and balanced, which makes your footage look more natural.
Preserve Sense Of Speed
Usually, the best bike tour footage doesn’t chase perfect smoothness. You want the road to feel alive, not vacuum-sealed. A head mount, or a lightly stabilized one, keeps body sway that sells speed while trimming harsh chatter. A high chest mount under your chin also works well. Wearing comfortable bike tour clothing can also reduce distracting body tension and help your camera movement look more natural over long Maui descents.
- Use moderate stabilization, not maximum crop, so optic flow still reads.
- Keep a wider frame from 4K. That lets foreground cues and motion blur streak past naturally.
- If you use a gimbal, lower the smoothing. Add a touch of roll or pitch later if the view feels too floaty.
- Frame in handlebars, gloves, and a bit of front wheel movement. Those small jolts and textures tell your viewer you’re moving fast, even when the footage stays calm and watchable.
Avoid Over-Smoothed Footage
Finding the sweet spot matters more than chasing perfectly floating footage. You want smooth video, but not at the cost of ride truth. Use one main stabilizer, then dial it back a little. Lower EIS strength or reduce aggressive cropping for better texture preservation. A chest mount high under your chin often works well because it shows your hands and bars while keeping body motion alive.
For longer descents, pack essential gear in a secure bag so your filming setup stays protected and accessible during the Maui bike tour. If you stack heavy EIS, a gimbal, and 360 cropping, the road can look oddly unreal. Keep some intentional vibration so viewers still feel gravel buzz, wind, and speed. If your setup gets too glassy, use subtle reintroduction in post with light shake, speed ramps, or quick raw cutaways. Also watch for gimbal bottoming out on hits. Those ugly jolts can become useful, honest inserts later.
Match Setup To Style
The right setup depends on the kind of ride feeling you want to share, not just how smooth you can make the footage. Think about camera distance, narrative pacing, and even color grading before you mount anything. Shooting during golden hour can also improve Maui bike tour footage by adding softer light and warmer color to moving scenes.
- Use a head cam for true POV and the smoothest motion. It softens bumps and slightly slows perceived speed.
- Pick a high chest mount if you want bars and hands in frame. You keep road feel while cutting jitter.
- Add a three-axis gimbal to a chest harness for silky control shots. It looks polished, but it’s heavier and hates crashes.
- Rely on electronic stabilization or a 360 camera when you want simple capture or reframing freedom. You’ll trade some resolution, and big hits can still thump.
Test combinations. Less smoothing feels vivid. More smoothing feels cinematic.
Frequently Asked Questions
How Do I Protect Camera Gear From Rain During Long Bike Tours?
Protect your camera gear by using waterproof housings or weather-sealed cameras, adding rain covers, stashing accessories in dry bags, packing silica gel, mounting under shelter, and carrying microfiber cloths so you’ll quickly wipe moisture away.
What Frame Rate Works Best for Cinematic Bike Touring Footage?
About 80% of films use 24 fps, so you’ll get the most cinematic bike touring look there. Use 60 fps for smoother motion or slowdowns, and choose 120 fps when you want dramatic, ultra-smooth slow motion.
How Should I Manage Battery Life on Multi-Day Cycling Trips?
Pack spare batteries, carry power banks, and build a charging schedule into each day. You’ll save power by disabling wireless features, lowering resolution, using charging hubs, and topping everything up at cafés, hostels, or campsites.
What Audio Setup Reduces Wind Noise While Riding?
Like building a quiet cocoon, you’ll cut wind best with a sheltered lavalier plus Lavalier windscreen, or a rear-mounted shotgun in a Shotgun blimp; add a Helmet deadcat, low-cut filter, and secure cables tightly.
How Do I Safely Clean Lenses and Mounts After Dusty Rides?
Use compressed air first, then clean lenses with microfiber swabs and lens fluid, wiping outward gently. Brush grit from mounts, dry everything immediately, inspect seals, and store your gear with silica packs to prevent moisture.
Conclusion
Smooth bike footage matters because viewers decide fast. In one eye-tracking study, people judged video quality in under 3 seconds. So if your clip starts with jitter, they feel it right away. Mount your camera high and tight, test on a short ride, and keep just a little road buzz for truth. You want the whir of tires, the flicker of shade, and your hands on the bars. Smooth, not sleepy. That’s the sweet spot on tour.