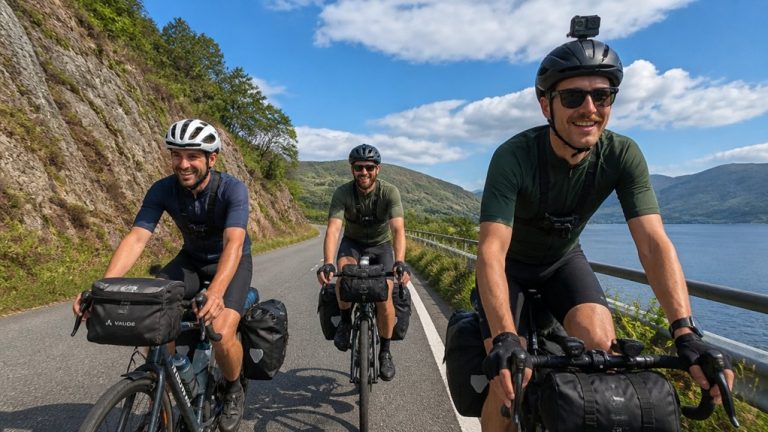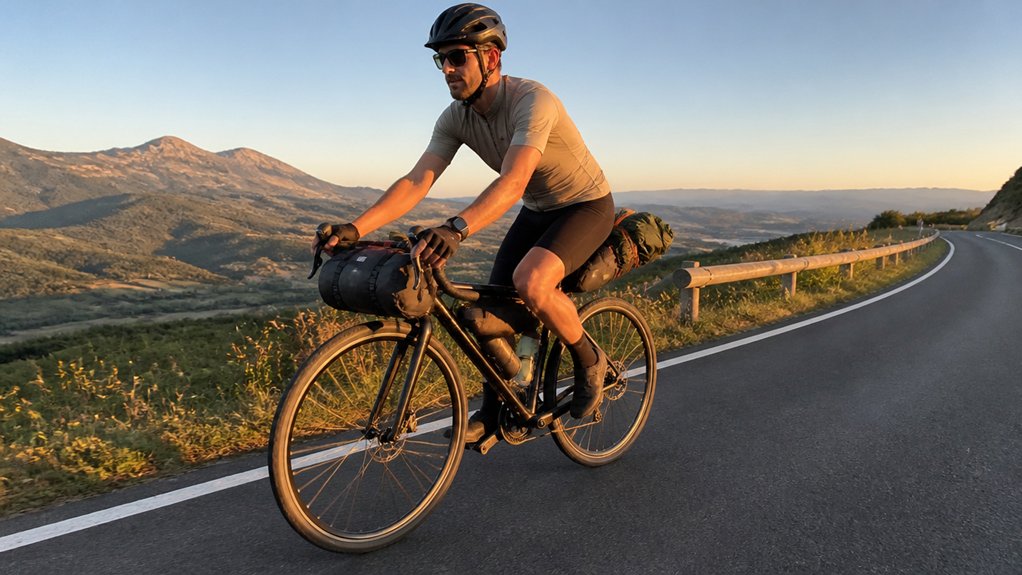
Your GoPro is the flag on your handlebars, catching every bend, bump, and strip of morning light. If you want footage that feels smooth instead of shaky, you’ve got to pair the right settings with the right mount. You’ll notice the difference in gravel chatter, wind slap, and the way trees slide past at speed. A few small tweaks can turn a rough clip into something sharp and calm, and the first one might surprise you.
Key Takeaways
- Shoot 5.3K 60fps in Linear with HyperSmooth and Horizontal Leveling for sharp, natural-looking footage and a steady horizon on rough trails.
- Use 4K 120fps only when you want cleaner slow motion for technical sections, crashes, or wheel movement.
- Enable Protune, set shutter to Auto, EV Comp to 0, and ISO 100–1600 for fast exposure changes between sun and shade.
- Mount the camera on a chest mount for the most stable rider-and-trail POV, and use rubber-damped brackets for rough terrain.
- For better audio, use a Media Mod with a foam muff and keep the mic angled away from direct wind.
Set the Best GoPro Bike Tour Settings

Start with the setting that gives you the most freedom on the road: 16:9 at 5.3K and 60fps, with the Linear lens, HyperSmooth on, and Horizontal Leveling enabled. You’ll capture crisp trail detail, a natural field of view, and a steady horizon, with room to crop later.
When you know you want slow motion, switch to 4K at 120 frames per second. That higher frame rate gives you cleaner slow-mo, though 5.3K isn’t available there. In Protune, set Sharpness to High, Color to Vibrant or Flat for grading, ISO 100 to 1600, and White Balance to Auto. For sound, use the Media Mod, add foam to cut wind noise, and record Raw Audio Hi with Stereo. Your footage will look composed and sound like the ride, not a leaf blower. Pair these settings with the right GoPro mount for your bike tour, since helmet, chest, and handlebar positions each change how stable and immersive your footage feels.
Choose the Best GoPro View and Mount
| Mount | Best use |
|---|---|
| Chest mount | Stable rider-and-trail POV |
| Forward Wide | Extra framing margin |
| chainstay mount | Drivetrain motion, check clearance |
| selfie stick | Quick angle changes |
Carry a telescopic selfie stick in your jersey pocket for fast swaps. For low or rear shots, use rubber-damped brackets and skip sketchy placements. On a Maui bike tour, shooting while in motion works best when your setup stays secure and simple. Your footage matters, but your skin matters more.
Fix GoPro Wind Noise on Rides
A great camera angle won’t help much if your soundtrack is all gale-force hiss. On descents that mimic Maui’s wind, airflow can shift from soft buffeting to a constant roar, so even small mic-position changes matter. To cut wind noise, start with a Media Mod and slip a small foam wind muff over its directional mic. That setup makes the biggest difference on rides. If you mount low near the chainstay or wear the camera on your chest, turn the mic away from direct airflow and test a short spin before a long tour.
In Protune audio, set Raw Audio to High and Mic Mode to Stereo. Skip automatic Wind mode. If you use 240fps or certain HDR-off presets, switch to Standard and check audio first, since some modes change processing. When you stop filming, stash the camera in a jersey pocket or under the stem. Clean up leftover hiss in post.
Set Protune for Better Trail Image Quality
Dial in Protune and your trail footage usually looks cleaner right away, especially when light keeps shifting from bright ridge lines to shaded trees. Turn Protune on, leave White Balance on Auto, set EV Comp to 0, and keep shutter speed on Auto so exposure adapts fast.
Then tighten image quality. Set ISO Min to 100 and ISO Max to 1600, or lower in strong sun, so you hold detail in dark pines without adding gritty noise. Use Sharpness High and Color GoPro for crisp dirt texture and green foliage. Choose Flat only if you’ll color grade later. Keep HyperSmooth enabled so motion stays controlled while Protune handles tone and detail. For sound, set Raw Audio to High and Mic Mode to Stereo. That gives you cleaner trail noise for later wind cleanup. If you’re filming a Maui ride, timing clips around golden hour can also make colors look warmer and trail contrast more flattering.
When to Use 60, 120, and 240 FPS
When the trail rolls from easy gravel to quick switchbacks and rooty drops, your frame rate choice shapes how the whole ride feels on screen. For most bike tours, use 60 fps in 5.3K or 4K. You’ll get sharp footage, natural motion, and easy slow‑motion at 0.5x.
Step up to 120 fps when you know a rocky chute, awkward dab, or possible crash deserves extra detail. It gives you cleaner 0.5x and 0.25x slow‑motion, though you’ll usually trade some resolution. Save 240 fps for tiny bursts like wheelspin, chain slap, or a tire cracking a wet rock. It looks dramatic, but lower resolution, heavier crop, and disabled HDR are part of the deal. For battery, storage, and strong stabilization, 60 fps stays your best all-day choice on long mixed-terrain rides. Pairing that with steady footage settings helps keep bike tour clips smooth and jitter-free over rough terrain.
Frequently Asked Questions
How Long Does a Gopro Battery Last on All-Day Bike Tours?
You’ll get about 1–2.5 hours per battery, depending on usage scenarios. You should improve battery lifespan with smart power management, watch temperature effects, and bring spare batteries or USB-C charging options for all-day riding.
Which SD Card Speed and Capacity Are Best for 4K Bike Footage?
For 4K bike footage, you’ll want U3/V30 minimum, ideally UHS II compatibility cards, 256GB–512GB capacity, strong write endurance, smart buffer management, regular format frequency, and a dual card backup setup to avoid dropped frames.
How Can I Keep My Gopro Cool in Hot Riding Conditions?
Keep your GoPro cool by using ventilation mounts or airflow cages, filming shorter clips, and disabling Wi-Fi, GPS, and voice control. Add shade visors, thermal sleeves, or heat dissipation stickers during stops, and swap batteries.
What Accessories Should I Pack for Multi-Day Gopro Bike Touring?
Pack smart: coincidence favors prepared riders, and you’ll want Spare mounts, a Multi battery setup, Waterproof case, Helmet buckle, and Lens protectors. Add a Media Mod, wind muff, selfie stick, chesty, power bank, and compact mounting kit.
How Do I Safely Clean My Gopro After Muddy or Rainy Rides?
Rinse your GoPro gently with fresh water for mud removal, remove battery and card, open doors for drying techniques, inspect compartments during internal inspection, clean lens maintenance carefully, and grease waterproof seals lightly after drying.
Conclusion
Dial in these settings and your bike tour footage will feel smooth as fresh pavement. You’ll catch the snap of gravel, the blur of pines, and the low hum of tires without turning every bump into chaos. Use the right mount, tame the wind, and match your frame rate to the moment. Then you can stop fiddling with menus and ride. Your GoPro should work like a quiet trail buddy, steady, sharp, and ready for the next bend.