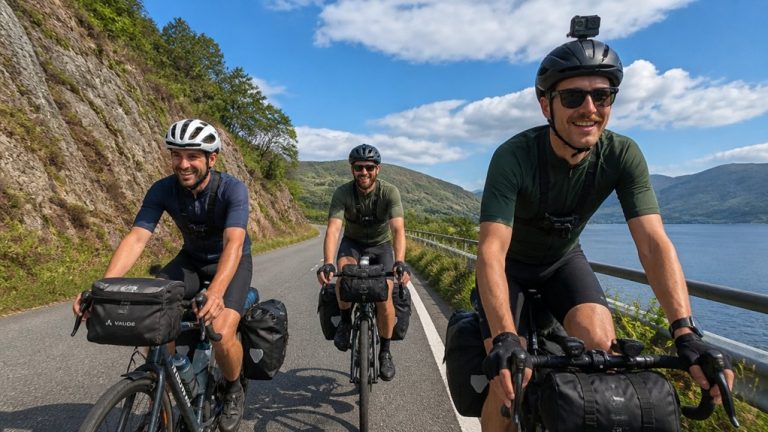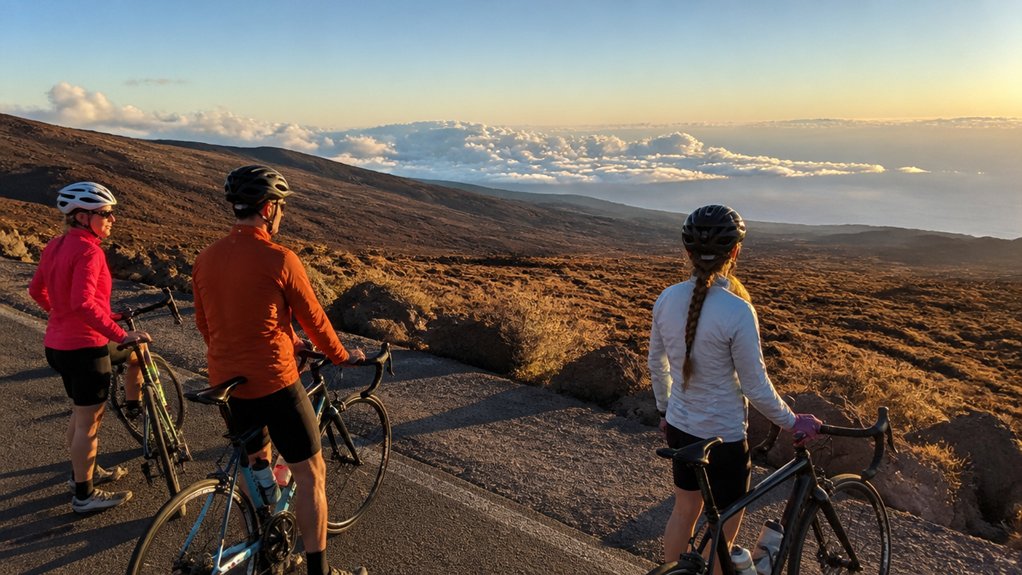
At Haleakala, the sky can glow like fire while the road still feels cold under your tires. If you want your best Maui bike tour photos, time matters as much as your camera. Sunrise gives you long shadows, calm air, and that unreal cloud layer below the summit. Mid-morning brings cleaner color and easier exposure. Afternoon adds richer tones and moodier light. The real trick is knowing which look fits your ride.
Key Takeaways
- Sunrise tours offer the most dramatic bike tour photos, with golden light, cloud inversions, crisp silhouettes, and calmer roads and wind.
- Mid-morning, around 9–11 a.m., gives bright, even light and vivid colors, ideal for wide landscapes and balanced exposure.
- Midday works well for clean detail on slopes and forests, with steadier shooting conditions and less lens fogging.
- Early afternoon brings saturated landscapes and softer shadows, while late afternoon adds moodier light but more wind and rider fatigue.
- Check summit visibility at dawn and monitor the Haleakalā webcam and NWS forecast, because clouds and wind can change photo conditions fast.
Best Time for Maui Bike Photos
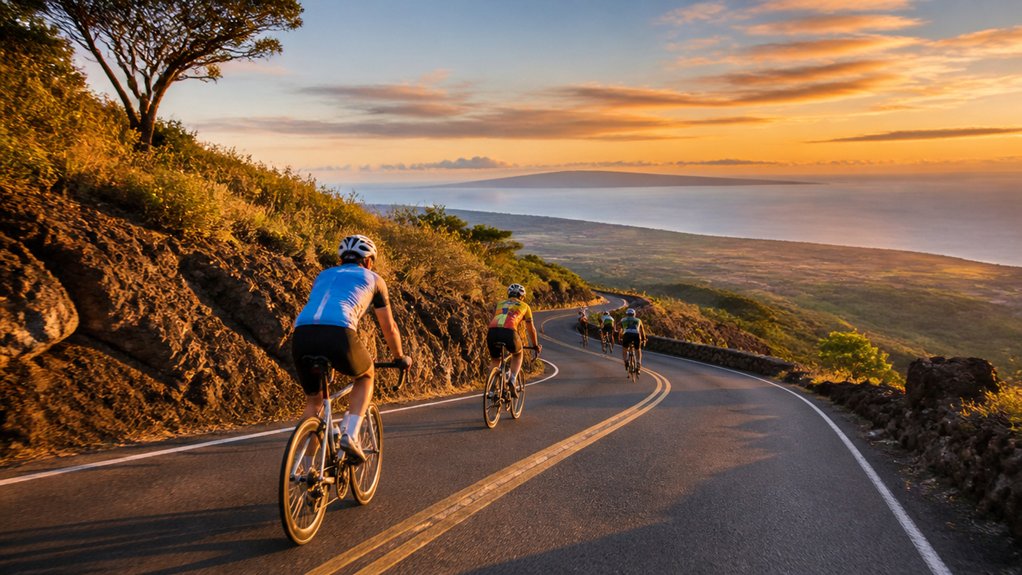
Often, the best time for Maui bike photos depends on the kind of scene you want to bring home. If you love a sunrise bike outing, plan for early light and quieter roads. You’ll get cool air, crisp silhouettes, and those cloud layers that look almost poured across the horizon.
If you want richer color, shoot later in the morning or early afternoon. Volcano slopes, rolling hills, and forest edges often look more vivid when visibility stays clear. An 8:00 a.m. check-in can feel like a sweet spot. This timing often matches the best time of day for riders who want balanced light and more comfortable conditions. You avoid the coldest summit conditions and still skip the harshest midday glare. Afternoon light adds texture and long shadows, though heat and trade winds can make your ride feel like the island is testing your balance. Always check visibility and the Haleakalā forecast first.
Why Sunrise Looks Best on Haleakala
Chasing sunrise on Haleakalā gives you the mountain at its most photogenic. At the Haleakalā summit, the sun spills gold over a sea of clouds and turns the crater into layers of copper, red, and violet. You get long shadows and warm side light that carve out ridgelines, cinders, and rough lava textures with striking detail.
Morning also helps your camera. Temperatures hover near 40°F, and the trade winds are usually calmer before they build, so the air looks clearer and your shots stay crisp with less haze. You’ll often find cleaner compositions too, since fewer people and cars have arrived. If visibility feels questionable, try the eye test. When you can spot the summit from your lodging at dawn, you’ve probably got a very good sunrise. This early light is a major reason many riders choose a Haleakalā bike tour itinerary that starts near sunrise.
Pre-Dawn Summit Photo Opportunities
Before the sun breaks the horizon, the Haleakalā summit feels like a different planet. You stand near 10,023 feet with stars overhead, clouds below, and a cold wind that makes your tripod feel like a very serious commitment. Sunrise tours put you here in time for the show, but you need layers and wind or rain gear to stay comfortable and steady. While some visitors still ask about the Haleakala Sunrise Bike Tour, current planning should focus on sunrise access and photo timing at the summit itself.
Arrive early to claim space before the railing fills. True sunrise runs often meet buses around 2 or 3 a.m., while later morning options check in around 8. Visibility changes fast, so do the simple head out the door eye test lower down and check the National Weather Service Haleakala forecast, zone HIZ022. Set your composition early. Those reds and golds above the crater peak and fade fast.
Best Early Downhill Photo Stops
As the descent begins, the best early photo stops come fast and each one shows a different side of Haleakalā. On your bike ride, pull over near the 6,000-foot handoff just after dawn for crisp summit clouds and golden backlight on riders. A little lower, the first big hairpin opens wide canyon views, where low sun throws long shadow lines across the lava. Since the Haleakalā bike tour covers a long downhill route, these early pullouts help you capture the changing light before the scenery shifts again.
- Stop around 5,500 to 5,000 feet for depth, contrast, and that dramatic just-started feel.
- Pause in the 3,000 to 4,000 foot zone where red cinder meets green forest and colors turn richer.
- Use turnouts near 2,000 to 1,500 feet for warm portraits, shoreline peeks, and a quick reset before town.
Each stop adds a new mood, so your gallery feels like a story, not a scrapbook.
Still comparing Best Time Of Day For Maui Bike Tour Photos?
Ask for tour ideas, hotel suggestions, or a simple trip plan that combines both.
Trip Helper
Is Mid-Morning Better for Clear Shots?
Those early pullouts give you drama, but mid-morning often gives you the cleanest shots. Between about 9 and 11 a.m., you usually get bright, even light that lifts forest greens and reveals clearer color on the volcano and rolling hills. Compared with sunrise, Mid-morning softens extreme contrast and long shadows, so your landscapes and portraits look balanced without wrestling with fill flash.
Many Haleakala bike tours begin early in the morning, which is why mid-morning can feel especially rewarding once the first rush of dramatic sunrise light has passed. You’ll often find calmer air too. Trade winds usually haven’t peaked yet, which helps visibility and keeps your camera steadier than it would be later. Just check the National Weather Service summit forecast for HIZ022, especially if gusts could hit 33 mph. A simple eye test works too. If you can see Haleakalā clearly from near your lodging by mid-morning, odds are good for crisp frames and easy shooting.
When Midday Light Works Best
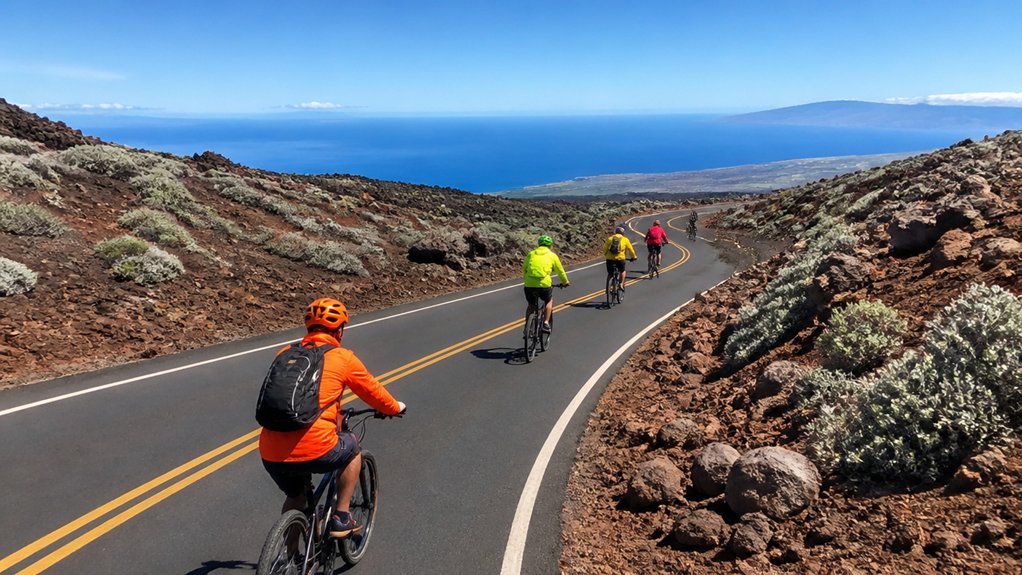
Often, midday gives you the easiest light to work with on a Maui bike tour. You’ll see fuller color on volcano slopes, rolling hills, and wet green forests. Details stand out cleanly. With the sun higher, shadows shrink and contrast softens, so crater ridges and tree lines hold more even exposure. This fits well within the best time of year for Maui bike tours, when clear conditions help midday scenery photograph especially well.
Midday light often makes Maui bike tour landscapes easier to shoot, with fuller color, cleaner detail, and more even exposure.
- You get steadier shooting conditions. Midday often beats stronger trade winds, so handheld clips and gimbal video look smoother on the descent.
- You stay more comfortable. Warmer air can cut summit chill and help prevent lens fogging that sometimes sneaks into early sessions.
- You need smarter portrait technique. Overhead midday sun can look harsh, so move into shade, use a reflector, or backlight your rider. Your subjects will thank you, probably without squinting too much.
Are Afternoon Bike Photos Worth It?
Afternoon bike photos can absolutely pay off on Maui. Midday–afternoon bike rides give you peak daylight, warmer air, and richer color on volcano slopes, rolling hills, and wet green forests. You also avoid the summit’s sunrise chill, which your fingers may appreciate.
| Time | Photo payoff | Watch for |
|---|---|---|
| Just before midday | Clean light, bright detail | Heat building |
| Early afternoon | Saturated landscapes, softer shadows | Gusty winds |
| Late afternoon | Longer shadows, stronger mood | Rider fatigue |
If you start before noon and keep riding, you’ll catch light that shifts from crisp to dramatic. That variety helps you build a more dynamic set. Plan short, deliberate stops, though. Heat and afternoon gusts can tire you out, blur shots, and make gear rattle like a tiny tambourine. If you do shoot while rolling, use shooting while moving techniques carefully so changing light and road vibration do not ruin the frame.
Check Visibility Before Your Ride
Before you ride, step outside early and see if you can spot the top of Haleakalā from low elevation, because that quick summit visibility check can save you a long climb into gray skies. You should also check the National Weather Service zone forecast for HIZ022, which many locals trust for summit winds and visibility, especially when gusts can reach around 33 mph. Since the mountain’s mood changes fast, re-check the morning of your ride at your start time and let the mountain make the call. If conditions seem uncertain, the NWS Forecast Office Honolulu posts updates on Weather.gov and shows any active watches, warnings, or advisories.
Summit Visibility Check
If the summit looks sharp and clean from your accommodation that morning, you’ve got your best green light to ride. That simple summit visibility check tells you more than wishful thinking ever will. Step outside early and see if Haleakalā is clear to the top. If fog or clouds hide the peak, wait. Riders asking about Haleakala Bike Tour safety should know that clear summit visibility is one of the simplest signs of better riding conditions.
- Trust your eyes first. Lower slopes can look sunny while the 10,023-foot summit stays socked in.
- Go early for calmer light. Pre-sunrise and early morning often bring cleaner views before wind and cloud cycles build.
- Recheck before boarding. Conditions change fast up high, and even brief openings can reward you with glowing sunrise layers above breaking clouds.
When the mountain says yes, your camera usually gets the memo too.
Trusted Forecast Sources
Your own summit check works best when you back it up with a few trusted forecast tools. Start with the National Weather Service Haleakalā zone forecast, HIZ022, for summit wind and visibility numbers. Locals trust it when gusts look serious, like a predicted 33 mph.
Then do a simple dawn eye test. If you can see the summit from your hotel or the road, crater views are usually promising. Watch sustained wind and gusts too. Above about 20 to 25 mph, or gusts over 30, you may get low clouds, dust, and tough sunrise photos.
Before you commit, check a summit webcam within one to three hours of go time. Mountain weather cycles fast, so compare forecasts with a National Park or tour operator morning update. If you plan to shoot at dawn, confirm your sunrise reservation status the night before so weather checks and entry timing line up.
How Wind and Clouds Change Photos
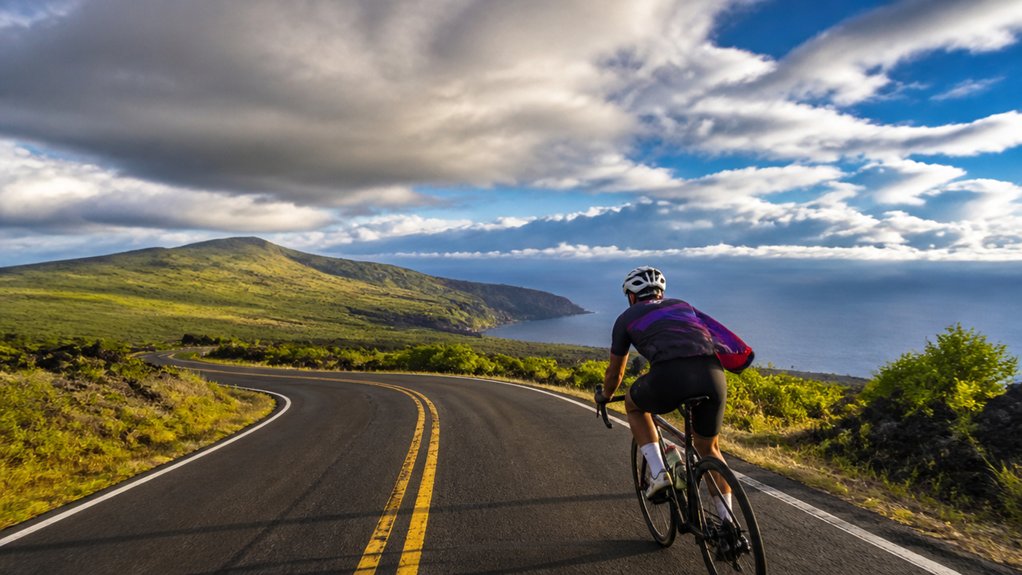
You’ll usually get cleaner, sharper shots in the early morning, before trade winds wake up and start tossing clouds across the sky like they own the place. Clouds can work for you too, especially near sunrise at Haleakalā, where you might sit above the inversion and catch bold color and soft low-angle light if the summit stays clear. Later in the day, stronger gusts, harsher shadows, and a little dust or haze can change what you see fast, so timing matters as much as your camera settings. If you’re shooting while riding or stopping along exposed sections, keep a relaxed grip and stay alert in crosswinds so wind gusts don’t throw off both your handling and your shot.
Wind Shapes Clarity
Because Maui’s trade winds usually wake up later in the morning, the clearest bike tour photos often happen from pre-sunrise to about 8 a.m., when the air feels calmer and the summit views look sharper. In that crisp morning air, you’ll notice ridgelines look cleaner and distant details pop. On the Haleakalā downhill route, those calmer early hours can also make it easier to capture steadier shots as you descend from the summit area.
- If gusts ramp up at Haleakalā, even around 33 mph, haze can spread fast and soften contrast. Your wide shots lose that etched look.
- At 10,023 feet, strong wind can shove orographic clouds across the summit. You may catch a stunning reveal, then lose it seconds later. Timing matters.
- Midday often brings brighter, richer scenery on the slopes and forests. Still, if wind returns, leaves blur and far-off layers look less defined. Check NWS zone HIZ022 before you ride.
Clouds Alter Light
As the trade winds start to stir, clouds can turn Haleakalā’s light from crisp and bright to soft and theatrical in minutes. In early morning, you’ll usually catch calmer air and fewer clouds, which helps you frame cleaner horizons and sharper mountain edges. Sunrise also paints the crater with low golden light and long shadows, though that 40 degree chill will make you glad you packed layers.
Later, gusts can push new cloud bands across the slopes fast. One minute the cinders look bright and hard. Next, the light turns diffused and colors deepen across volcanic rock, rolling hills, and forest. Mid to late morning often brings the most change, with moving cloudscapes that add texture and mood. It’s like nature keeps adjusting the dimmer switch while you ride downhill. On many descents, trade winds can shift how the air feels just as quickly as they reshape the light.
Summit Visibility Timing
If you time it right, the summit gives you two very different photo moods in one morning. On a Bike Morning, you’ll often reach 10,023 feet before sunrise, when crepuscular color glows across the crater. It’s beautiful, but 40°F air and hard wind can shake your camera and your smile. Early morning usually turns calmer before trade winds build, so you’ve got a better shot at sharp horizons above the cloud deck. On the Haleakala Bike Tour from Kahului, pickup timing helps determine how early you arrive for those low-light summit shots.
- Check the National Weather Service Haleakalā forecast, especially HIZ022, before you go.
- Do the dawn eye test. If you can see the summit from your door, visibility often looks promising.
- Expect brighter color later, but midmorning gusts can hit 33 mph, push clouds around, and scramble panoramas. By afternoon, thermals usually make consistency a joke.
What to Wear for Summit Shooting
At the summit, dress like you’re heading into a different season. Even if your Bike tour starts in soft island warmth, sunrise at 10,023 feet feels brisk and windy. Wear layers you can adjust fast.
| Item | Why it helps | Best pick |
|---|---|---|
| Jacket | Blocks cold gusts | Warm insulated layer |
| Shell | Stops wind and rain | Lightweight outer shell |
| Gloves and hat | Protect fingers and ears | Warm, snug fit |
Temperatures on Haleakala summit can feel surprisingly cold at sunrise, so plan for winter-like conditions before you start shooting. Choose sturdy closed-toe shoes with grip. Rocky pullouts and dusty edges can surprise you when you step off pavement for a better angle. Pick matte clothing in darker or earthy tones so you don’t bounce glare into photos. Bring a light backpack for extra layers, rain gear, and snacks as descent temperatures rise.
How to Protect Camera Gear
On Haleakalā, you’ll want weatherproof gear strategies that can handle gusty summit winds, cold mist, and the occasional surprise shower before the road even starts to warm. You can protect your camera with a weather-sealed body or a waterproof padded case, then keep it close with a secure strap or tether so it doesn’t take a bounce at a windy overlook. A smart carry setup also helps during pickups and bakery stops, when layers shift, batteries cool fast, and your camera somehow always wants to hide at the bottom of the bag. It also helps to pack rain gear essentials and an extra protective layer for your camera in case the summit weather changes quickly.
Weatherproof Gear Strategies
Protecting your camera starts before the first photo, because Haleakalā can feel cold, windy, and a little gritty even when the views look calm. Ask your Bike Company what weather to expect, then prep for it.
If forecast conditions point to rainy weather, ask whether your Maui bike tour should go ahead or be rescheduled so you can protect both your gear and your shooting window.
- Use a weather-sealed body, or slip non-sealed gear into a rain sleeve or dry bag. Gusts can push moisture and volcanic dust everywhere.
- Pack silica gel, an airtight lens case, a waterproof cover, microfiber cloths, and a blower. You’ll beat condensation and clear grit fast after exposed ridgelines.
- Add UV or clear filters to protect glass from sand and road spray. Keep batteries and memory cards warm in an inner pocket so power lasts longer in summit cold.
That way, your gear stays ready when the light turns magical and fast.
Secure Carry Methods
Good weather prep helps, but the way you carry your camera matters just as much once the ride starts rolling. On Haleakalā bike rides, use a weatherproof padded sling or chest harness so your camera stays snug and ready while you descend winding roads above 15 mph. Add a wrist or neck strap rated for action use. Tether lens caps and tiny accessories so they don’t bounce into the brush on steep switchbacks.
When you’re not shooting, seal your camera and phone in a waterproof zip pouch or dry bag against mist, gusts, and quick summit rain. Pack lenses and your camera body in a hard shell case or padded insert inside a backpack with a sternum strap and waistbelt. Keep batteries and cards organized in separate zip pockets for fast, warm swaps. Since long descents demand steady braking technique, secure carry methods also help reduce hand strain by preventing awkward one-handed adjustments while riding.
Best Camera Settings for Haleakala
Because sunrise at Haleakalā shifts fast from dim blue to blazing gold, you’ll get the cleanest results by starting at ISO 100 to 400 and setting your aperture around f/8 to f/11 for crisp, deep landscape detail. At the Haleakalā summit, a tripod lets you hold 1/2s to 2s exposures and keep cloud layers silky, not noisy. If you’re joining a bike tour with breakfast, keep your camera accessible after sunrise since the experience often continues into brighter morning conditions that are ideal for rider and roadside landscape shots.
- Shoot RAW and bracket 3 to 5 frames at ±2 stops. You’ll save bright sky color and shadow detail when the light flips in seconds.
- For cyclists later, use 1/500s to 1/2000s, f/4 to f/8, and ISO 100 to 400. That freezes spokes, jackets, and quick smiles.
- Bring warm spare batteries and a weather cover. Cold gusts sap power fast, and your camera hates shivering almost as much as you do up there.
Where to Stop Safely for Photos
You’ll get your best shots when you stop in designated scenic pullouts and guide-approved overlooks, where the crater light is wide open and the road feels calmer. If a turnout isn’t there, wait for a flat straight stretch with long sightlines, signal the group, and make sure traffic can spot you early. Keep your helmet on, keep the stop short, and let the wind and passing tires remind you this isn’t the place for a long costume change. For many riders, a Maui bike tour is worth it because guided stops make it easier to photograph dramatic views without improvising unsafe roadside pullovers.
Designated Scenic Pullouts
When the views start opening up on Haleakalā’s downhill, stick to the wide paved pullouts near the 6,000-foot start area instead of stopping wherever the light looks perfect. These turnout bays are a great spot to shoot crater edges, rolling cloud bands, and those long blue island horizons without blocking traffic or wobbling on loose gravel.
- Choose pullouts with guardrails or paved shoulders. You’ll get steadier footing and clearer sightlines.
- Skip blind corners, hairpin turns, and narrow shoulders where the pavement suddenly drops off. The photo isn’t worth the surprise traffic.
- If you’re riding self-guided, mark scenic pullouts on your map and budget 20 to 25 extra minutes per stop. For longer shooting, save your time for the bakery stop or official summit viewing areas. Your brakes will thank you later too.
Guide-Approved Photo Stops
Although it’s tempting to stop the instant the clouds part, the safest photo breaks happen at guide-approved turnouts and widened pullouts where everyone can get off the road cleanly. Early in the descent, you’ll usually stop where the road straightens and your guide can stage the van for an easy regroup and camera handoff.
At the summit, use official viewing areas and railings for sunrise shots. These legal spots give you space to frame the crater, the silver light, and the cold morning air without crowding the roadway. Your guide’s local knowledge also shines at bakery and town stops, plus prearranged pauses that add about 20 to 25 minutes. That’s where you’ll get relaxed group photos, steady footing, and maybe a pastry crumb on your glove.
Traffic-Aware Stopping Tips
Because the best photo isn’t worth a close call, save your stops for designated turnouts and wide shoulder areas where the whole group can get clear of traffic. On a bike tour with Bike guides, you’ll notice pullouts near mile markers, trailheads, and mailbox turnoffs where vans and buses already stop safely.
- Don’t stop mid-lane. Your guide may park the support van as a buffer, which protects you and keeps local drivers from getting grumpy.
- Use planned pauses. The bakery stop or the 6,000-foot handoff points give you time for photos without slowing the descent.
- On narrow switchbacks, wait for the guide to flag traffic and lead you to a flat shoulder. If you stop unexpectedly, get fully off pavement, use hazard lights, and watch for strong summit gusts before dismounting there.
Pick a Tour Based on Photo Goals
If your main goal is the photo, let that decide the tour you book. Choose sunrise tours when you want drama. As the sun clears Haleakalā, you can frame silhouettes, glowing clouds, and that unreal cloud inversion below the summit. Early starts also mean quieter roads and calmer air, so your descent shots stay sharper with less motion blur.
If you want vivid landscapes, book a morning or midday ride. Brighter light brings out the volcano’s rusty tones, the rolling hills, and the lush forest greens. It’s great for wide-angle scenes and HDR work, and it’s simply easier to shoot.
Prefer warm light and a looser pace? Afternoon tours give you long shadows and textured detail. Just expect more wind and heat, which can make handheld telephoto shots a little fussy.
Frequently Asked Questions
Can I Bring a Drone for Maui Bike Tour Photos?
Yes, you can sometimes bring a drone, but you’ll face Drone restrictions. Check National Park Service rules, permit needs, and your tour operator’s policy. Expect high winds, cold-drained batteries, and limited launch options.
Are Permits Required for Professional Photography on Haleakala?
Yes, Permit requirements usually apply for professional photography on Haleakalā if you charge fees, use elaborate equipment, or promote commercially. You should confirm with the park office, submit insurance and shoot details, and apply weeks ahead.
How Do I Photograph Groups Without Delaying the Tour?
You keep the tour rolling like a steady river: assign one photographer, use Quick Poses, cap stops at 2–3 minutes, schedule one scenic shot, stash gear fast, and prebrief riders for one safe moving pass.
What Phone Apps Help Plan Haleakala Photo Compositions?
You’ll plan Haleakalā shots best with Composition Apps like PhotoPills, Sun Surveyor, TPE, Windy, MeteoEarth, and Google Maps. They help you predict sun angles, visibility, shadows, wind, and safe pullout compositions before you ride.
How Should I Back up Photos During a Maui Bike Tour?
Treat your backups like a seatbelt: use a fast UHS-I U3 microSD, offload shots with an OTG reader to a portable SSD at stops, keep a power bank handy, and add Cloud backups later over Wi‑Fi.
Conclusion
For the strongest Maui bike tour photos, you’ll usually want sunrise, when Haleakala glows copper, the air stays still, and clouds pool below like a quiet sea. Mid-morning gives you cleaner color and easier exposure. Afternoon brings deeper shadows and richer mood. Match the hour to the story you want. Pack a lens cloth, check wind and visibility, and stop only where it’s safe. Then roll downhill like a time traveler chasing light with a camera instead.