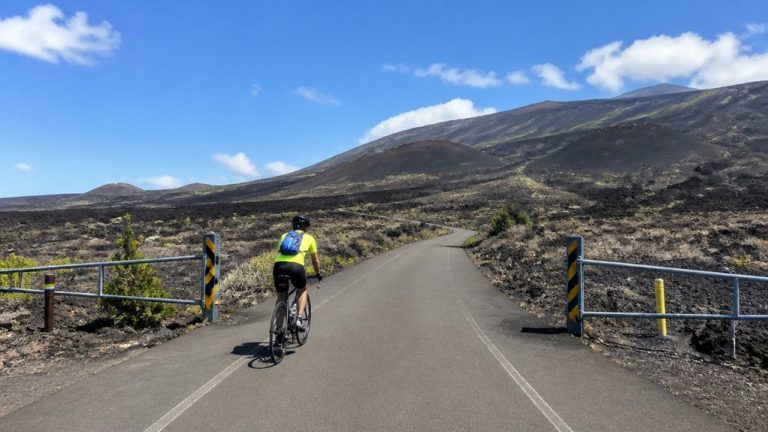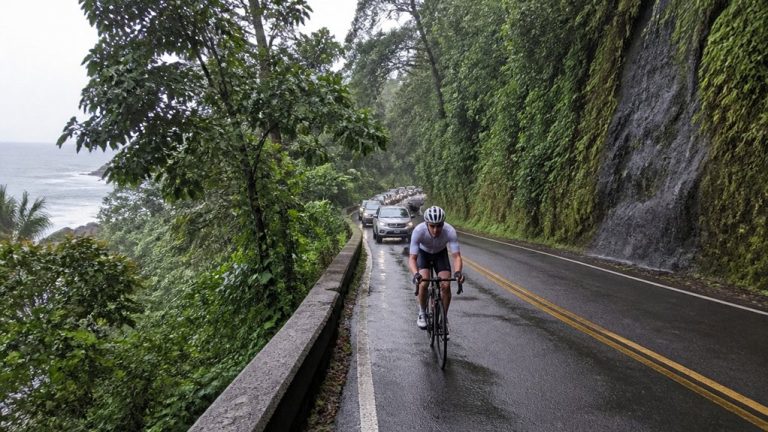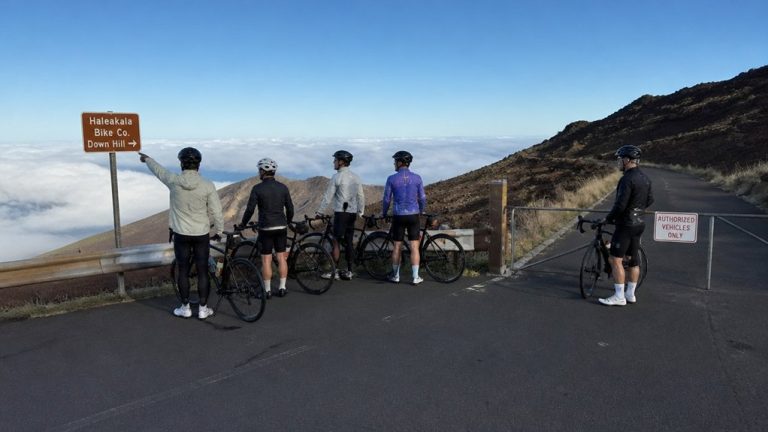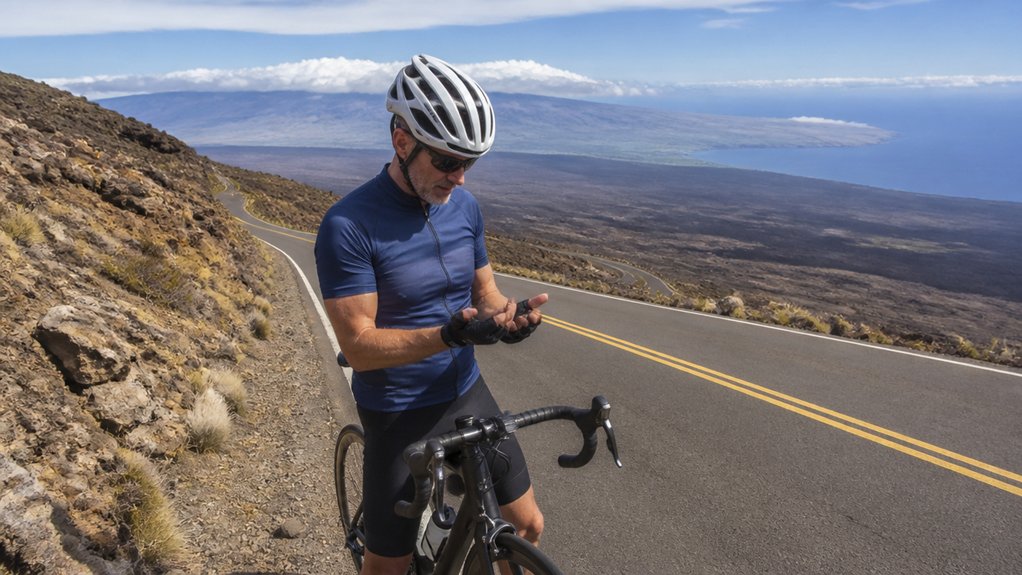
On Haleakala, the road falls away through cold dawn air, wet fog, and long quiet bends, and your brake hands can start complaining fast if you don’t set up right. You want smooth control, not a death grip and sizzling fingers by mile five. A few small changes in lever angle, gearing, and body position can make the descent feel calmer and a lot less punishing. The trick is knowing which tweak matters first.
Key Takeaways
- Set brake levers for one-finger reach and a 20°–40° downward angle to keep wrists neutral and reduce forearm fatigue.
- Use smooth, light braking early on straights, aiming roughly 70% front and 30% rear, not grabby pulses into hairpins.
- Keep hips centered, pedals level, heels slightly dropped, and hands light so your legs absorb braking load.
- Finish most braking before corners, then use light rear brake in loose or damp turns for added stability.
- Watch for fade like spongy levers or drifting bite point; stop to cool brakes and use lower gears to save your hands.
Start With Haleakala Braking Basics
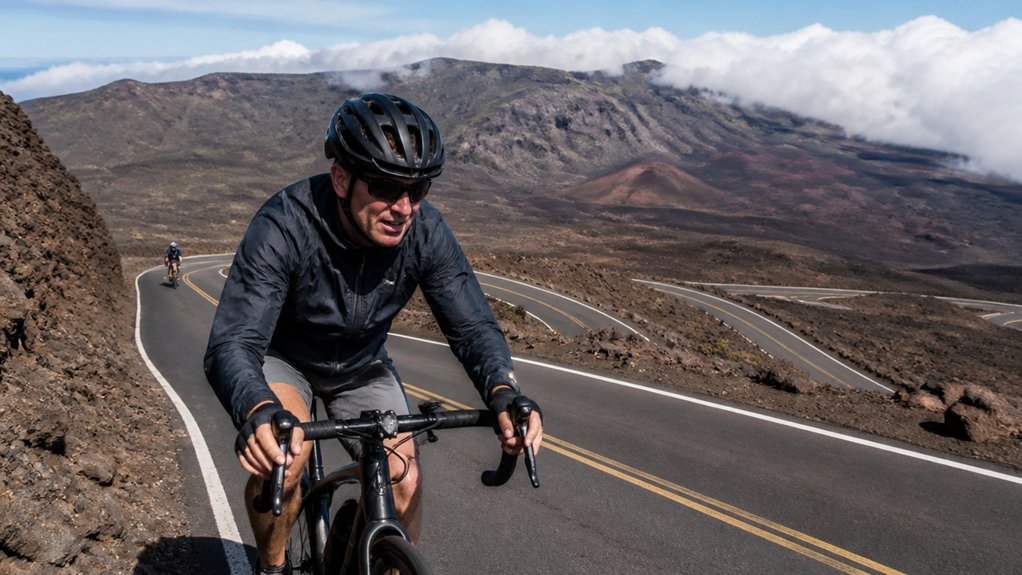
Before you point your bike down Haleakala, start with one simple rule: let your gears do part of the work and save your brakes for controlled speed checks on the long drop. That 10,000 foot descent can last 1½ to 2 hours, so smooth habits matter. Use light, steady pressure instead of pulsing. Your tires hold better through hairpins, and you avoid extra arm pump.
Give the front brake the main job in most situations. Think roughly seventy percent front, thirty rear. On loose or very steep sections, feather the rear to keep the bike calm and tracking cleanly. Check that your hydraulic discs feel consistent, with bedded pads, clean rotors, and strong bite. Notice your lever angle too. A flatter setup helps your wrists stay neutral while lava slopes and trade winds rush past. These habits also support tour safety by reducing fatigue and helping you stay in control for the full descent.
Adjust Brake Reach Before the Descent
Once you’re at the summit and the cold air starts to bite through your gloves, take a minute to dial in your brake reach. With your normal downhill hand position, set each brake lever so one to one-and-a-half fingertips hook it comfortably. That small change keeps you from death-gripping the bars and helps spare your forearms during Haleakala’s long 1½ to 2 hour descent.
Because the route follows a steep downhill from Haleakala, proper lever setup matters even more for controlling speed without overworking your hands. Test it while wearing all your layers. You should be able to feather speed with one finger yet still cover both levers for a sudden front-wheel panic stop. If you ride hydraulic discs, use the reach dial to bring the lever closer, or shim it slightly, so you don’t waste grip strength. After the first few minutes, pull over, listen to the wind, and fine-tune again.
Set Brake Levers for Neutral Wrists
As the road tips away from Haleakalā and the switchbacks start to stack up below you, set your brake levers so they point about 20° to 40° down from horizontal. That angle keeps your wrists neutral when the descent gets steep. It also lets stronger forearm muscles help, so your upper body stays calmer and arm pump arrives later.
Check lever position in your downhill stance with cranks level and your weight centered. You should squeeze the Brake fully without cocking your wrist upward. Dial the reach for one finger or more, depending on your hands, so modulation stays crisp while you watch the front tire trace the pavement edge. Before your first big descent, practice these adjustments during beginner downhill riding so the setup feels natural once Haleakalā gets steep. After a short test run, listen to your body. If fatigue shows up early, rotate the levers flatter a little and test again.
Use Low Gears on Haleakala Downhill
Before you roll out for Haleakalā’s long 10,000-foot descent, shift into a low gear so you can settle into a steady cadence and brake less. On steep pitches and tight hairpins, that easier gear helps you control speed and spin smoothly out of corners instead of clutching the levers like they owe you money. If rain or fog slides in near the upper slopes, stay in a low gear so your pedaling feels precise and your braking stays calm. As part of your Haleakala Bike Tour itinerary, make your gear choice before the descent begins so you are not fumbling with shifts once the downhill picks up speed.
Shift Early, Brake Less
If you want the smoothest start to Haleakalā’s 10,000-foot drop, shift into a low gear at the summit or even on the climb up. Make sure you shift early, before the road tips hard downhill, so the bike helps hold your speed. On Crater Road, that gearing lets you coast between overlooks with less hand strain and fewer long brake drags. Depending on the operator and route, the bike tour length can vary, so early shifting helps you settle into a sustainable pace from the very start.
Low gears also steady your cadence when you need a few pedal strokes. You won’t spin out, surge, then grab too much brake before a hairpin. Instead, you can apply the rear brake in short, calm taps while the drivetrain does part of the work. That combo matters on rental bikes with hydraulic discs, where feathered inputs protect pads and rotors. Your hands stay fresher, and the descent feels quieter and calmer.
Low Gears In Rain
When rain moves across Haleakalā, start the descent in a low gear and let the bike help hold your speed. You’ll lean on pedaling resistance instead of death-gripping the brakes for that long 10,000-foot drop. On steep pitches, a low gear trims speed, cuts brake heat, and lowers the risk of fade or boiled fluid.
In cloudbanks and eucalyptus mist, keep a steady cadence and coast lightly. That smooth rhythm helps traction and avoids abrupt braking on slick hairpins. This approach is a core part of any Haleakala Downhill strategy because managing speed early makes the full descent safer and smoother. If the front brake feels grabby or the lever goes soft, shift even lower. Then use gentle rear brake pressure and stay centered and low over the bike. It’s a simple habit, but it matters inside the National Park. Don’t miss a post. Check Instagram to stay tuned for road notes.
Center Your Body for Better Braking
As Haleakalā drops away beneath you, keep your hips centered and your pedals level so your weight stays in your feet and your hands stay light on the bars. You’ll brake more smoothly when your front heel dips a touch, your wrists stay neutral, and your body stays low and balanced over the bike instead of drifting too far forward or back. On the long hush of Crater Road, that steady position lets you feather the front brake with control and save your arms for the views. Because traffic expectations can change along Haleakalā bike tours, staying centered also helps you react calmly and brake smoothly when conditions shift.
Heavy Feet, Light Hands
Dial in your stance, and the descent gets smoother fast. Keep your pedals level and let the front heel drop a touch. That small bit of ankle engagement shifts weight into your legs, where your quads and glutes can handle Haleakalā’s long braking loads. Add steady core tension and firm foot pressure, and your hands stop doing all the miserable work.
Stay centered over the bottom bracket so the front tire keeps grip through steep pitches and loose hairpins. If you drift back, braking gets sketchy in a hurry. Riders comparing a Guided Van Tour with a downhill bike tour often find the bike descent demands much more lower-body support and braking discipline. Instead, keep a soft, active grip and relax your forearms. Bend your knees and elbows slightly when corners tighten. You’ll lower your center of mass, stay heavy through your feet, and roll through the quiet volcanic turns without cooking your hands.
Neutral Position On Descents
Even on Haleakalā’s long, quiet pitches, your best braking starts with where you place your body. Stay centered over the bottom bracket, not hanging back over the saddle. That keeps weight on the front wheel, so the front brake bites cleanly and your wrists don’t do all the work. Think heavy feet, light hands. Drop your heels a touch and keep the cranks level.
Hold a neutral pelvis with a calm chest-over-bar stance and bent elbows. Your arms can then absorb chatter from rough pavement instead of locking out. Keep relaxed shoulders and centered breathing as the road hums below you. Set your brake levers flatter, about 20° to 40° up from vertical, so your wrists stay neutral. Save the low, slightly back hip shift for truly steep ramps only. Riders wondering about skill level should know that a stable neutral position matters even more than prior downhill experience on a Maui bike tour.
Drop Your Heels on Steep Sections
Drop your heels when the road tilts hard and the braking starts to drag on. Push the balls of your feet forward, lower your heels an inch or two, and let your legs take the load instead of your hands. On Haleakalā’s steep pitches, that small move eases wrist strain and steadies the bike over loose scree and damp pavement. At the cold summit, this stance also helps you stay more stable when stiff muscles and chilly air make braking feel harsher.
Drop your heels on steep, braking-heavy descents to lighten your hands and calm the bike over rough, slick pavement.
- Keep your cranks level for better balance.
- Bend your knees and keep elbows soft.
- Use foot placement cues during long braking runs.
- Build ankle mobility before big descent days.
- Practice heel drop drills on moderate hills first.
You’ll feel your center of mass settle lower, almost like the bike grows calmer. Your legs start acting like suspension, and the bars stop chattering so much through rough corners and hairpins.
Feather Your Brakes, Don’t Grab
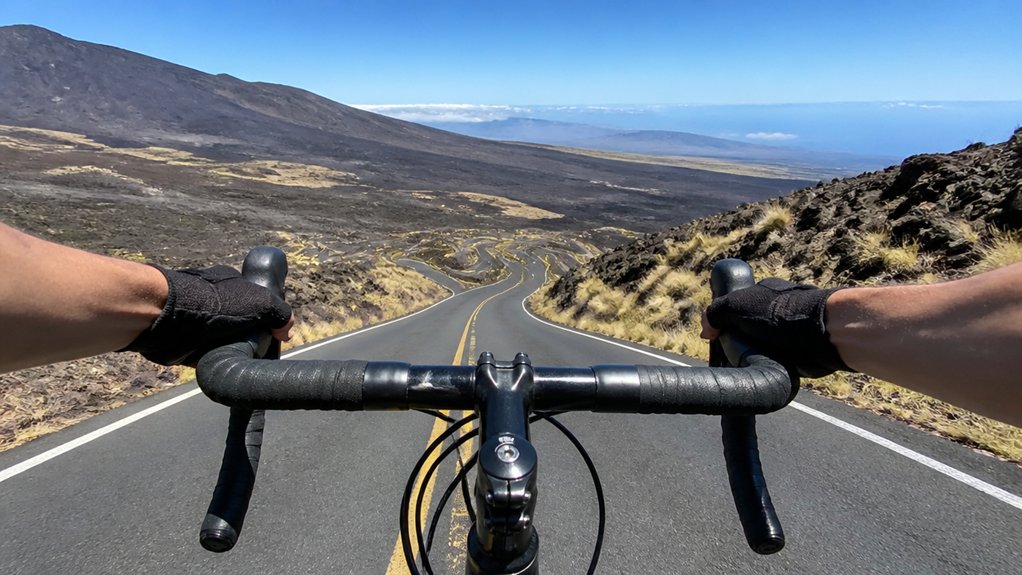
On Haleakala’s long descent, you’ll want to feather the brakes with light fingertip pressure instead of grabbing a fistful when the road starts dropping fast. You keep your speed smooth, your wheels rolling clean through hairpins, and your hands a lot happier when the rotors start humming. It feels calmer, too, like you’re reading the mountain one quiet curve at a time instead of arguing with it. That kind of control is one reason many riders feel a Maui bike tour is worth the ride.
Smooth Brake Modulation
Usually, the smoothest riders on Haleakala look almost boring, and that’s the point. You’re after finger finesse, not drama. Set your lever reach for one-finger control, then make tiny inputs that barely show. That’s smart thermal management, and your hands will thank you. If you’re comparing guided vs unguided tour options, this same smooth modulation matters either way on the Haleakala descent.
- Let the front brake do most of the work, with tiny pressure changes.
- Use vision timing so you finish most braking before each hairpin.
- Keep light rear-brake feather for stability on damp Crater Road.
- Hold steady pressure over loose grit so tires stay planted and quiet.
- Practice skid-free stops on wet pavement, gravel, and damp sand.
You’ll hear less rotor howl and see fewer dust puffs. The bike stays calmer over rough patches. Down a 10,000-foot descent, smooth modulation feels almost invisible, and wonderfully effective.
Avoid Sudden Grabs
That same light touch matters most when the road suddenly asks for more and your instinct says grab a handful of brake. On Haleakalā, fight those grip reflexes. Use one finger and feather the front brake with tiny increases. You’ll keep traction on wet summit pavement and avoid glazing pads on the long volcanic drop. Bring bike gloves to protect your hands and improve control on the long descent.
| Do | Why |
|---|---|
| Feather lightly | Limits heat buildup |
| Add pressure slowly | Keeps traction |
| Hold steady bite | Reduces dust and slip |
| Brake in stages | Prevents wheel lock |
| Check setup | Fixes wandering lever |
Use visual cues and anticipation drills before corners. Bleeding speed early beats pulsing the lever, which cooks brakes and sprays grit. Need more stopping power? Stay low and centered. Feather first, then add a short firm squeeze. If the lever wanders, inspect pads, rotors, and lever feel.
Use the Front Brake for Stopping Power
Squeeze the front brake with respect, because it does most of the work when Haleakalā drops away beneath your wheels. As the grade steepens, weight shifts forward and your front tire gains grip. Use that power progressively. Don’t grab. Squeeze smoothly with fine fingers, especially on wet patches or gritty lava dust.
- Brake before turns, not deep inside them.
- Keep body leaning centered and low.
- Let heavy feet and light hands calm your wrists.
- Check tire pressure and lever angle for traction.
- Watch for pad rub, then allow brake cooling on straights.
If the lever feels vague or too stiff, inspect pads and rotors for grime. A better hydraulic brake or bigger rotor may help. You want control, not a death grip, while wind hums past cinders. Riders starting from Paia on a Haleakala bike tour should dial in front-brake pressure early, since long descending miles reward smooth technique over panic squeezing.
Use the Rear Brake Lightly in Loose Turns
When a loose hairpin shows up on Haleakalā’s crater road, use just a whisper of rear brake to steady the bike and help it hold the line. You’ll want a soft, continuous feather instead of pulses, especially where gravel, sand, or stray eucalyptus bits make the surface feel slick and chatty. If the rear starts to slide, ease off right away, reset your balance, and let smooth control carry you through the turn. On shared descents, remember that Maui roads often have limited shoulders, so keeping your line predictable helps both drivers and cyclists stay safe.
Light Rear Brake Modulation
Ease into the rear brake on Haleakalā’s loose, steeper turns, and it can feel like a quiet helper instead of a panic button. You’re aiming for fingertip pressure, not a stomp, so the tire keeps biting through gravel and sandy grit while the front brake handles most slowing. This matters just as much on Kula to Makawao stretches, where changing grades can reward smooth rear-brake finesse before the next bend.
- Build rear finger sensitivity with tiny inputs.
- Use micro brake drills on mixed surfaces.
- Practice terrain specific modulation before hairpins.
- Keep heavy feet and light hands.
- If it slides, ease off slowly and shift slightly back.
Trim a little speed before the turn, then feather through it in one smooth hush. Small changes beat pulses. That saves your forearms from that hot, tunneled feeling. On Haleakalā’s high road, where cinders whisper under your tires, calm rear-brake touch keeps the bike settled, not skittish.
Stability In Loose Corners
Loose corners on Haleakalā ask for a calmer kind of braking. On gravel and volcanic scree, you’ll get better stability by feathering the rear brake with small, steady pressure. Don’t grab the front brake in the turn. That’s how a low-side slide sneaks in and ruins the view.
Instead, handle momentum management before the corner with short rear-brake inputs. Then stay light and smooth as you lean. Keep your hips low, knees bent, and your weight slightly back. Good body angling helps the rear tire stay planted. If you feel traction fading, ease off braking, drop your front heel, and load the rear foot until grip returns. Then reapply light pressure. With trail scanning and fingertip modulation, the bike stays quieter, dust settles, and your line feels almost magically stitched together. Similar judgment matters on routes like the West Maui Loop, where safety and scenery both depend on controlled speed and calm cornering.
Brake Before Haleakala Hairpins
As the road drops away from Haleakalā’s summit, start in a low gear and feather both brakes right away so your speed stays calm long before the first hairpins appear. That early brake anticipation matters on a descent losing 10,000 feet over 1.5 to 2 hours. Many riders on early morning starts find that cooler conditions make smooth braking feel more predictable from the beginning. Save your harder braking for straight sections, not corner entry, and picture each bend with approach visualization before it arrives.
On Haleakalā’s long descent, brake early, stay in a low gear, and meet each hairpin with calm, patient anticipation.
- Brake most before the turn.
- Aim near 70 front, 30 rear.
- Favor rear on steep loose gravel.
- In fog or rain, slow more.
- Stop if brakes smell hot.
Use smooth lever pressure so the bike stays planted and quiet. If the levers feel spongy, pull into a turnout or gazebo and let the discs cool. Hairpins reward patience, not heroics.
Relax Your Grip to Prevent Arm Pump
One small reset can save your forearms for the whole Haleakalā drop: keep your grip light and let your legs and core do the bracing. Think heavy feet, light hands as the road falls away for nearly 10,000 feet. Match that with a steady breathing rhythm and deliberate hand relaxation, and your bars stop feeling like a pull-up bar.
Set your brake levers a bit flatter, around 20 to 40 degrees, so your wrists stay neutral on steep pitches. Use tiny finger movements and smooth pressure instead of grabby pulses. In the steepest sections, let the front brake do most of the work while the rear just feathers for balance. A little grip variation helps too. If your brakes need too much force, check rotors, pads, and setup before sunrise rolls around. For first-time riders, practicing this lighter touch early can make a Maui bike tour feel safer and far less fatiguing.
Ride Rain and Fog With Smoother Braking
Braking in rain and fog on Haleakalā takes a calmer rhythm, not a stronger squeeze. You’ll stay steadier if you drop into low gears and practice fog braking with light, feathered pressure instead of hard grabs. On slick pavement, smooth inputs read better than panic ever does. On Maui descents, safe handling starts with staying relaxed in crosswinds and making every brake input gradual.
- Set speed before hairpins. In wet turns, aim for 10 to 15 mph.
- Read traction cues like wet leaves, mud, and algae below the clouds.
- Modulate the rear brake a bit more to avoid sudden front-wheel lock.
- Ease off long drags, then pulse lightly so hydraulic discs keep a consistent bite.
- Wear grippy gloves and adjust waterproof levers for easy one-finger control.
Listen for rotor hiss. Watch mist bead on your sleeves. Calm hands make the mountain feel more readable.
Spot Brake Fade Early
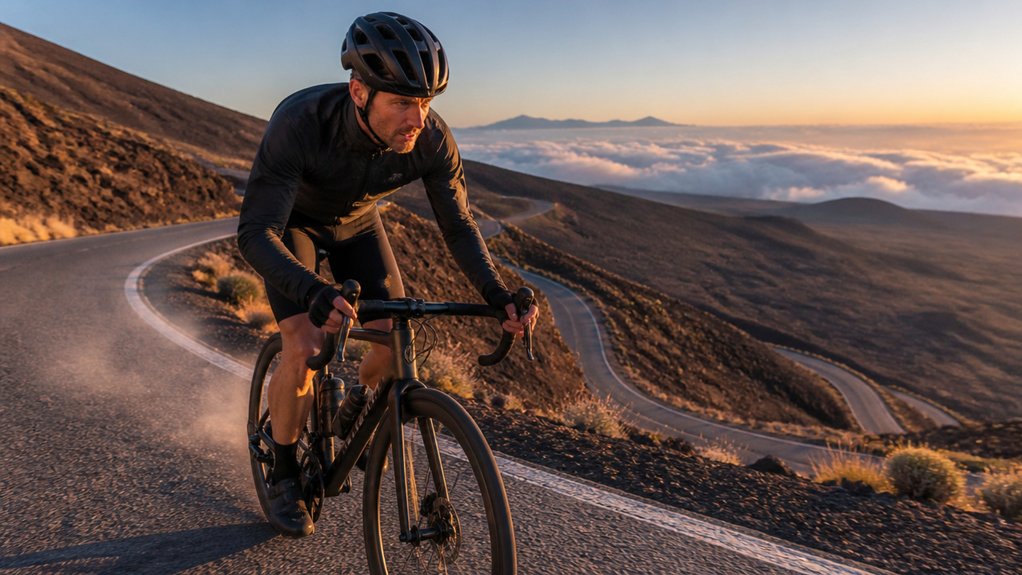
Often, brake fade whispers before it shouts. You’ll notice the bite point drift or soften first. If lever travel suddenly grows and you’re pulling closer to the bar after a long drop, heat is building. Pay attention to thermal indicators you can feel. During a stop, carefully tap the caliper or hub. If it’s uncomfortably warm and the rotor looks glossy, your brakes are cooking.
You may also feel more lever effort, less stopping power, or a spongy squeeze after repeated braking. That’s your cue to back off speed and use lower gears for engine braking. Coast less. Let gearing scrub speed so pads and rotors cool. If fade shows up, pull over, let everything rest, and check for glazing or contamination. Think sensor integration and material testing, trail-side.
Test Changes on Mellow Sections
Dial things in before the big drop. On Haleakalā, treat mellow pavement like your lab. Practice lever angle and modulation on a 5 to 10 percent grade until you can stop from 25 to 30 mph cleanly, no skid, no drama.
- Try new pads, rotors, or a bleed on a safe 1 to 2 mile section first.
- Use grading technique with 3 to 5 timed stops from 20 mph.
- Compare one-finger setups for arm fatigue, reach, and stop consistency.
- Do thermal testing on repeated braking before trusting higher, faster miles.
- Check brake bias on a flat turnout so the rear feathers, not chatters.
Then do a full kit run. Gloves, rain shell, gears, wrists. If anything feels off here, it’ll feel louder above the clouds.
Frequently Asked Questions
Can Brake Pad Compound Choices Reduce Hand Fatigue on Long Descents?
Yes, your brake pad compound choices can reduce hand fatigue on long descents: organic blends improve modulation and lower squeeze force, sintered pads resist fade, and proper compound heatcycling keeps braking smoother, more consistent, and less tiring.
How Does Rotor Size Affect Braking Effort on Haleakala Downhill?
Larger rotors cut your braking effort on Haleakalā because they boost torque, so you need less finger force. They also add thermal capacity, reduce fade, and keep lever travel more consistent during the descent.
Should I Wear Full-Finger Gloves for Better Braking Comfort?
Yes, like armor for your hands, you’ll want Full finger gloves: Grip texture boosts lever control, Thermal barrier helps in wet chill, and Padding liner with Vibration damping and Impact foam cuts numbness, fatigue, and arm pump.
How Often Should Brakes Be Serviced Before Riding Haleakala?
You should inspect brakes before every descent as part of your pre ride checklist, bleed them every 3–6 months, replace fluid per service interval, and verify brake bedding and heat response with a short test stop.
Do E-Bikes Require Different Braking Techniques on Haleakala Descents?
Yes, you’ll brake differently, and that theory holds: e-bikes need earlier, smoother inputs on Haleakalā. You must balance motor assist, regen braking, and throttle modulation, favor front bias, and release intermittently so your brakes don’t overheat.
Conclusion
On Haleakala, good braking turns a hand-roasting run into a long, quiet glide above the clouds. You’ll feel the cool air, hear tire hum on lava-dark pavement, and notice how small lever touches keep your wrists and nerves happy. Set up early, shift low, and check for any softening before it becomes a little drama. Practice on mellow stretches first. Then the big descent feels less like a wrestling match and more like a well-kept island secret.