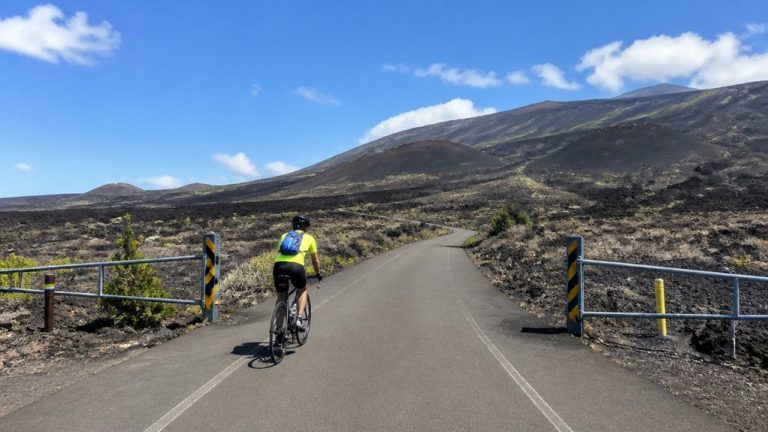
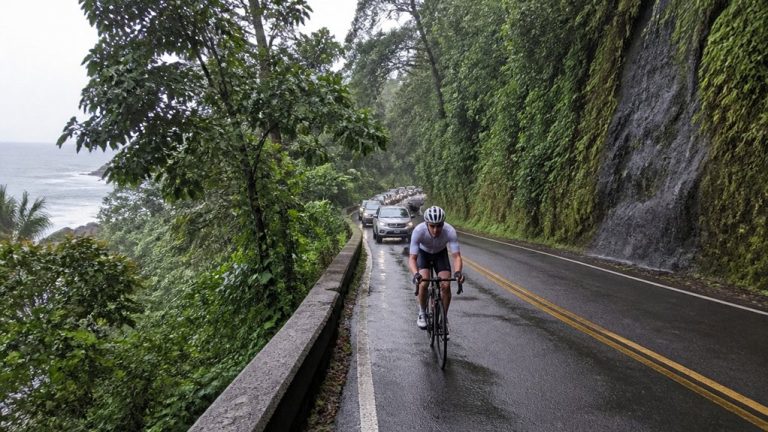
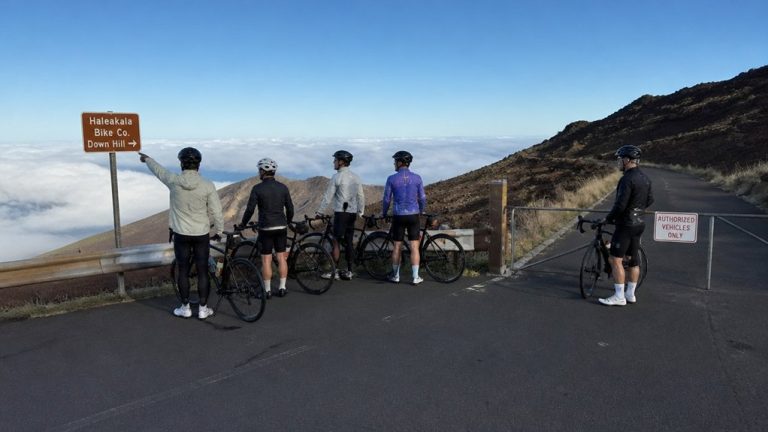
You hear the hiss, feel the wobble, and spot the shoulder fast. On a Maui bike tour, you need to get off the road first, then figure out whether you’ve got a simple puncture or a bigger problem hiding in the tire. The air smells like salt and warm pavement, cars rush by, and your repair kit suddenly feels very important. A flat can be a quick fix or a call for help, and the next move matters.
Key Takeaways
- Move completely off the road to a flat, visible spot, dismount away from traffic, and make your stopped bike visible with lights or bright gear.
- Confirm it is truly flat, then inspect the tire, tube, and valve area to locate the leak and identify the puncture source.
- Check the inside of the tire, rim strip, spoke holes, and valve hole for glass, thorns, burrs, or shifted tape before reinstalling anything.
- Replace the tube roadside if possible; patch only small holes after scuffing, gluing, and pressing firmly until the patch seals.
- Reinstall carefully: seat the tube and bead by hand, inflate gradually, confirm brake and wheel alignment, and carry a pump, levers, and spare tube.
Stop Safely and Get Off the Road
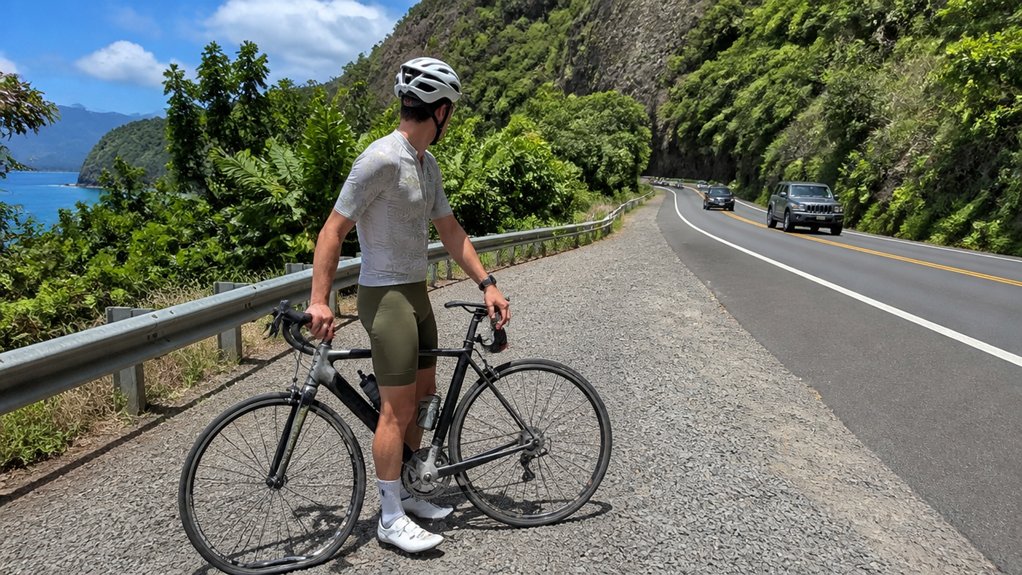
First things first, get yourself completely off the roadway and into a safe, flat spot like a shoulder, pullout, driveway, or patch of grass where cars can see you and pass cleanly. Signal, ease your speed down, and stop with intention. On a Maui bike ride, that extra patience matters on narrow coastal stretches where traffic hums close.
Dismount on the side away from cars, especially downhill, so passing wind or a wobble doesn’t nudge you toward the lane. If the shoulder feels skinny or sketchy, walk your bike to the nearest turnout. Then steady the bike against a wall or flip it upside down. Pull off panniers and loose gear. Set your helmet near the edge as a bright warning. Maui roads often have narrow shoulders, so giving yourself extra space from traffic makes a flat change much safer. If the spot still feels wrong, call for help after your flat tire.
Confirm the Flat Tire
Once you’re safely out of traffic, make sure you’re dealing with a true flat and not just a tire that feels a little soft after miles of Maui heat and rough shoulder grit. Squeeze the tire and listen for escaping air. You may feel a slow leak or a fast collapse.
Next, inspect the tread and sidewall. Run your fingers carefully around the tire to find glass, a thorn, or a sharp rock. If you spot the puncture, note whether it hit the tread, sidewall, or valve area on your bike. Sidewall cuts and valve damage usually mean a full tube swap. Remove the wheel, let out a little more air, and ease the bead free. After you pull the tube, add a touch of air and listen closely to pinpoint the flat’s exact source. If you’re stopped near the road while checking the tire, make sure your bike lights are visible to traffic under Maui bike rules.
Grab Your Repair Kit
Before you roll out, make sure your rental includes a repair kit, spare tube, pump, and tire levers so you won’t end up stuck beside the lava rock and kiawe. Keep that kit where you can grab it fast, not buried at the bottom of a bag while the trade winds keep blowing. If you’ve practiced with the tools at home, you’ll feel a lot calmer when it’s time to get your hands a little dusty. It also helps to double-check your essential gear before the ride so you know nothing important was left behind.
Check Kit Contents
If a flat shows up somewhere between a lava-rock shoulder and a long Maui descent, you’ll be glad you checked your repair kit before rolling out. Before you leave, confirm your rental includes a repair kit, spare tube, and pump. Many Maui shops list them, but it’s worth a quick look inside yourself first.
Make sure the kit has tire levers, a spare tube in the right wheel size, and a mini-pump or CO2 inflator. Check that the tube’s valve matches your rim and that the pump head fits it. Open the patch kit too. You want fresh vulcanizing fluid, sandpaper, and at least one usable patch, not a glue tube turned to paste. Give the pump a short test. It should hold air and reach the pressure printed on your tire. What you wear matters too, and comfortable Maui bike tour gear can make roadside repairs easier in changing island conditions.
Keep Tools Accessible
Keep your repair kit where you can pull it out fast, not buried under snacks, layers, and the mystery item at the bottom of a pannier. On a Maui ride, seconds matter when trade winds whip the shoulder and heat rises off the pavement. Stash your rental repair kit in a jersey pocket, saddle bag, or small handlebar bag. You’ll reach the spare tube and tire levers without unpacking everything beside the road.
Before you roll out, confirm the tube fits your tires and the pump or CO2 inflator works. Practice at home so your hands know the steps when lava grit sticks to your fingers. Packing essentials for the tour in an easy-to-reach spot also helps you stay prepared when a flat happens mid-ride. If roadside repairs still feel shaky, save a mobile mechanic number. Pro help can cost $75, but it beats a long walk.
Remove the Wheel

Start by releasing the brakes so the wheel can slip past the pads without a fight, and if you’re roadside, flip the bike or set it in a stand and keep clear of any hot disc rotor. Then hold the wheel, open the quick-release or loosen the axle nuts, and let it drop cleanly from the dropouts. If you’re removing the rear wheel, shift to the smallest cog first, pull the derailleur back, and guide the chain off like you’re unhooking a stubborn lei. On a Haleakala bike tour, taking your time with wheel removal helps keep the repair safe and controlled on Maui roads.
Release Brakes First
Before the wheel comes off, free up the brakes so nothing catches. If you have rim brakes, open the quick-release or unhook the cable so the tire clears cleanly. For a rear wheel, shift onto the smallest cog first. That tiny click makes bike repair much smoother on a breezy Maui roadside. On long descents, use braking tips that help protect your hands from fatigue and heat buildup.
| Brake type | What you do | Why it helps |
|---|---|---|
| Rim brakes | Open cable or quick-release | Lets tire pass |
| Disc brakes | Keep rotor untouched | Prevents bending |
Next, steady the bike in a stand or flip it carefully, and remove panniers. Open the quick-release lever or loosen axle nuts while holding the other side. Check that the axle sits loose in the dropouts. Keep fingers off the rotor and greasy chain if you can.
Drop Wheel Safely
With the brakes out of the way, you can drop the wheel without a wrestling match on the side of the road. First, release your rim brakes if you haven’t already. Then shift to the smallest rear cog and pedal backward a touch so the chain lines up neatly. This puts the bike in an easier gear combination for rear-wheel removal. Open the quick-release lever or loosen the axle nuts until the wheel comes free.
If you’re removing the rear wheel, pull the derailleur back with one hand and lower the wheel from the dropouts with the other. Keep the chain off the cog so it doesn’t smear your fingers with gritty Maui road dust. When you reinstall, seat the axle fully, tighten the opposite nut, and close the lever firmly. Reconnect the brakes, spin the wheel, and test stopping power before rolling again downhill.
Take Out the Tube Safely
Ease all the air out of the tube first, then loosen the tire bead without forcing anything. Press the Presta core or Schrader pin, then push the tire bead toward the center so it drops inside the rim and gains slack.
| Step | What you do |
|---|---|
| 1 | Deflate tube fully |
| 2 | Push bead to rim center |
| 3 | Pry opposite valve |
| 4 | Pull valve out first |
| 5 | Remove tube flat |
Start opposite the valve and slip in one or two levers. Pry gently. Pull the valve stem straight out first, then ease the rest of the tube free. Keep it flat, not twisted. As you go, run a careful finger along the tire and rim strip. Maui roads can hide tiny surprises. On a Haleakala downhill ride, this quick check matters even more after a long descent. When you’re ready, add a whisper of air to the next tube.
Find What Caused the Flat
Now you’ll want to play bike detective and find the exact cause before you pop in a fresh tube. Check the tube for a slow hiss or tiny bubbles, then run your thumb along the tire tread and sidewalls for glass, thorns, or a sneaky bit of metal. Finish by inspecting the rim bed and rim strip for sharp spots, because one rough edge can ruin your next stretch of Maui pavement. Following basic bike tour safety steps can help first-time Maui riders catch small issues before they turn into bigger roadside problems.
Inspect Tire Tread
Often, the fastest way to fix a flat is to play detective before you pop in a fresh tube. Start with the tire tread and sidewalls. Run your fingers carefully with your thumb pointed backward, so a hidden shard doesn’t bite. Feel for glass, thorn, or metal. Then trace the tread all the way around and look for a tiny cut or puncture mark.
If you’ve removed the tube, match the hole’s position to the inside of the tire and rim. That helps you pinpoint the exact trouble spot before you reinstall anything. Check inside the rim too. A shifted rim strip, sharp spoke hole, or poking spoke end can sabotage your Fix a Flat. Finally, inspect the valve stem area. If it’s torn or damaged, swap the tube instead. Before a big descent like Haleakala, beginner downhill riding prep also includes checking your tires for wear and embedded debris so you’re less likely to flat on the ride.
Check Tube Leaks
Start by coaxing a little air back into the tube, then hold it close to your cheek and listen for the faint hiss. Feel for cool air on your skin. If you have water nearby, dip sections of the tube and watch for tiny bubbles. That little trail tells you exactly where the puncture hides.
Mark the hole, then line that spot up with the matching place on the tire. Before fixing a flat, run your thumb along the tire’s inside to catch glass or a thorn. Check the valve stem and valve base too. Cracks or wobble mean the tube’s done. On a bike on Maui, repeat flats can come from a torn rim strip, so look for damage around spoke holes before you reinstall anything. Wearing comfortable shoes can also help you stay steady and focused while inspecting the tire and tube during a Maui bike tour.
Examine Rim Interior
Once you’ve matched the hole to the tire, take a look at the rim itself before you slip in a fresh tube. Peel back one tire bead and leave the rest seated so you can inspect the rim bed and spoke holes. In bike repair, this quick pause often solves the mystery.
Run your fingers carefully along the inner rim and around each spoke hole. Feel for rough metal, a burr, grit, or a spoke nipple that’s popped up like a tiny trap. Check the rim tape for tears, gaps, stiff spots, or anything crooked. Bad rim tape can expose spoke holes and cause repeat flats. Study the valve hole too. If you find a sharp edge or torn tape, smooth it, fix it, or flag the wheel for a shop. And before you roll again on a Maui ride, make sure your helmet guidelines are covered for safety.
Decide to Patch or Replace
Here’s the quick call: if you’re rolling along a Maui tour and need to catch back up fast, swap in a fresh tube instead of fussing with a patch on the shoulder of the road. On sunny coastal roads or windy upcountry stretches, speed matters. Most guides say to replace the tube and save the repair for later.
Before you ride off, inspect the tire tread and rim interior for glass, thorns, or a sharp edge. If you miss the culprit, you’ll hear that flat hiss again before the next lookout. Replace the tube if the valve is damaged, the hole is big, there are several punctures, or the damage sits near the valve or a seam. If you’re unsure, choose replacement, carry a spare, or call mobile bike service. Staying calm also helps, since motion sickness can make any downhill tour feel more stressful if you’re already dealing with a roadside repair.
Patch the Tube if It’s Minor
Listen for the leak and give the tube a fair shot if the damage looks small. On a Maui Bike ride, a tiny hiss or a line of bubbles can tell you exactly where to patch the tube. Mark the puncture, then work carefully. For first-time riders on Maui bike tours, staying calm and methodical during a flat repair can help keep the rest of the ride on track.
- Partially inflate the tube and find the hole by sound, touch, or water.
- Scuff the area with sandpaper, spread a thin layer of glue, and wait until it turns tacky.
- Center the patch, press hard for 30 to 60 seconds, and rub outward to push trapped air away.
- Add a little air, check for leaks or lifting edges, then inflate to the sidewall PSI if it seals.
If the patch won’t hold, the tube’s telling you something.
Install a New Tube Faster
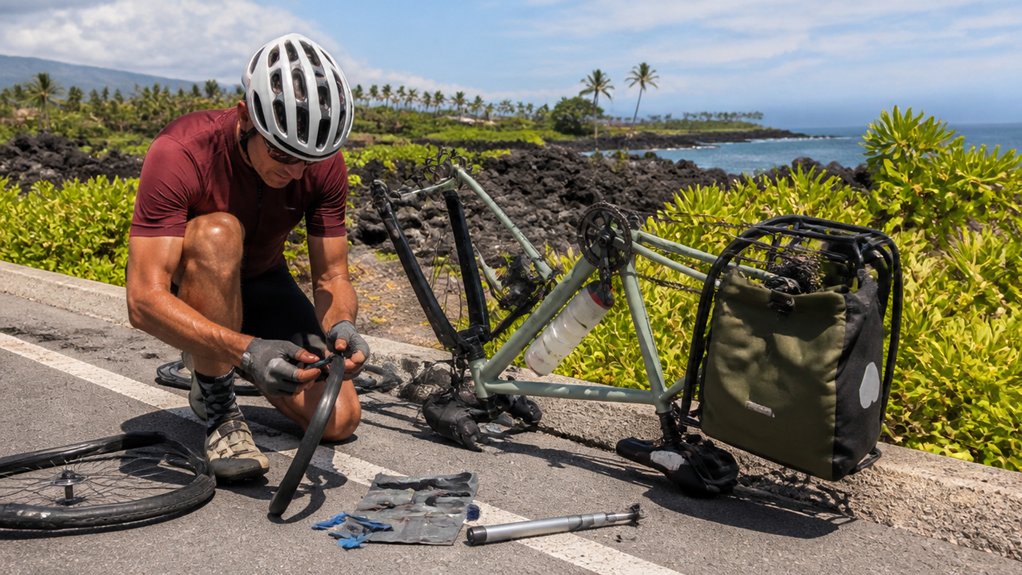
Grab the new tube and give it just a breath of air, about 10 to 20 percent, so it holds its shape instead of folding into trouble. Slide the valve stem through the rim hole first, then spin the valve nut on finger-tight. That keeps everything lined up while you tuck the tube neatly inside the tire.
Save time by working with your hands, not levers, especially on a rental bike. Start near the valve and move outward as you fit the bead into place. Leave the tightest spot opposite the valve for last. Before you add real pressure, squeeze the tire all the way around and check that the valve stands straight. Inflate to about 30 percent, check again, then pump to the PSI printed on the sidewall. If you’re starting or finishing near town, Kahului parking can make it easier to deal with repairs before or after your Maui bike tour.
Seat the Tire Back on the Rim
Press the valve stem straight through the rim hole, then seat the first tire bead starting at the valve and work your way around the wheel by hand. With the tube lightly shaped, roll the second bead on from the side opposite the valve. Strong thumbs beat tire levers here, especially on a mountain bike. On Maui, stay alert for windy conditions that can make roadside repairs and wheel handling a little trickier.
- Start at the valve and finish there.
- Use your palms and thumbs, not metal.
- Squeeze the tire all around the rim.
- Check that the valve stands straight.
Once both beads are on, inspect for trapped tube before adding just a little air. Then look closely at both sides of the rim. You want an even line with no bulges, lumps, or sneaky rubber peeking out. Keep the tire aligned before moving toward recommended pressure later.
Pump the Tire to Proper Pressure
Now bring the tire up in stages instead of blasting it full right away. Add air to about 30 percent first, then pause and check that the bead sits evenly and the valve stands straight. If something looks off, fix it before you continue. Then pump the tire to proper pressure using the range printed on the sidewall, such as 40 to 65 psi for many hybrids or 80 to 120 for road tires.
Use a gauge, or a pump with one built in, instead of guessing by feel. Wider tires need less pressure than narrow ones, even on fast Maui Cycling routes. This step matters on Maui bike tours, where long descents make proper inflation especially important. Carry a pump or CO2 inflator in your rental kit, because a simple top-up can save you a $75 service call. If a leak returns, inflate and roll carefully onward.
Reinstall the Wheel and Test Brakes
With the tire firm again, set the wheel back in place and make sure it sits square before you think about riding off toward the next Maui lookout. On a rear wheel, guide the chain onto the smallest cog, pull back the derailleur, and seat the axle fully. Up front, drop the axle cleanly into the fork.
- Hold the quick-release lever and tighten the opposite nut.
- Close the lever firmly, not brutally. Tuck it away.
- Spin the wheel. Check that rims or rotors run centered and pads don’t rub.
- Roll slowly and squeeze both brakes hard.
Reattach any opened brake, then confirm the tire pressure matches the sidewall. Recheck wheel seating and skewer tightness. Before rejoining the group, make sure shifting feels normal. This matters extra on a Haleakala downhill ride, where long descents make dependable braking essential. Then get back to Bike Riding.
Get Maui Bike Repair Help
If the flat won’t stay fixed, get Maui bike repair help before the shoulder turns into your workshop. When repeated flats, a damaged valve, or a torn sidewall stop you cold, call for mobile service. On-site assistance starts at a $75 minimum and comes to your location, so you don’t have to wrestle a dusty Lahaina bike into a car.
For faster help, use the number on your rental agreement or the shop website and share your exact spot. If you booked a tour with a shuttle option, ask whether roadside support is included, since it can be easier than arranging a self-drive pickup after a breakdown. Krank Cycles serves Makawao, Kahului, and West Maui, and West Maui Cycles can often turn repairs around quickly. A pro can replace tubes, true a wheel, or inspect the rim. If you rented, check whether your package included a repair kit, spare tube, and pump before trouble rolls in first.
Frequently Asked Questions
What Should I Carry to Prevent Flats on a Maui Bike Tour?
Carry spare tubes, puncture kits, tire levers, a mini pump or CO2 inflator, and a multi-tool. You should also bring a patch kit, pressure know-how, and tire plugs or boots for Maui’s debris-prone roads.
How Often Should I Check Tire Pressure During a Maui Ride?
You should check tire pressure before departure, then at mid ride checkpoints every 30–60 minutes; a drop of just 5 psi can affect handling. After hard impacts or leak signs, stop immediately and inspect, pump, and reassess.
Are Maui Roads More Likely to Cause Punctures Than Other Cycling Routes?
Yes, you’ll face more puncture risk on Maui roads than many routes because volcanic grit, sharp lava, and coastal debris collect near shoulders, while variable road maintenance and wet runoff leave tires exposed to hidden hazards.
Can Tubeless Tires Reduce Flat Risk on Maui Bike Tours?
Yes, you’ll reduce flat risk on Maui with tubeless tires because you gain sealant benefits, lower-pressure traction, and fewer pinch flats. But you’ll face installation challenges with rentals, and you’ll still need plugs, a spare tube, and inflation.
Will Bike Rental Insurance Cover Flat Tire Repairs or Replacements?
Usually, you won’t get insurance coverage for routine flat repairs or replacements. Check your rental agreement for roadside assistance, repair fees, and negligence exclusions. You should save receipts, since travel insurance or credit card protections might reimburse costs.
Conclusion
A flat can turn a breezy Maui ride into a roadside puzzle, yet the fix is often simple once you’re safely off the pavement. You check the tire, swap or patch the tube, then listen for that satisfying hiss-free silence as the pump firms it up. If the wheel won’t seat right or the sidewall looks torn, call the shop. Better a $75 rescue than wrestling rubber in the hot trade winds and losing daylight.