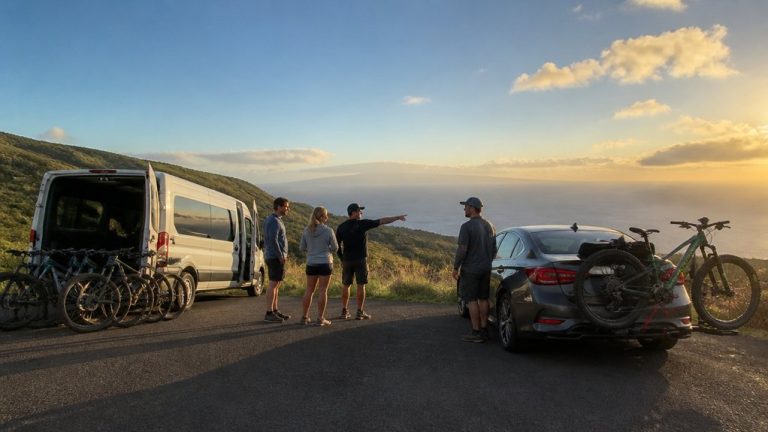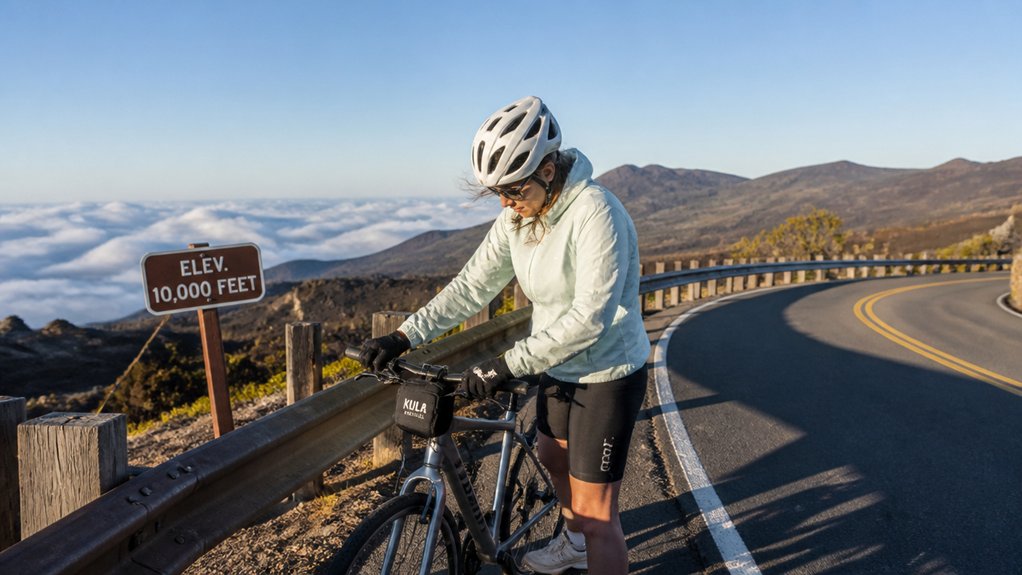
Before you point your front wheel down Haleakalā, make sure your bike fits you and your brakes feel sharp. You’ll want a little stand-over room, your usual saddle height, and a pump, tube, and tools packed before the wind starts talking. Then practice smooth braking and calm cornering on smaller hills, because those long grades and tight hairpins can get your attention fast. The mountain is beautiful, cold, and not very forgiving.
Key Takeaways
- Fit the bike first: proper stand-over clearance, normal seat height, responsive brakes, low gears, and a quick practice loop before descending.
- Practice progressive braking on a gentle hill; rely mainly on the front brake, feather the rear, and avoid constant lever clamping.
- Enter corners at a safe speed, finish braking while upright, look through the turn, and keep elbows and knees slightly bent.
- Shift into a low gear early on long descents to help control speed and reduce hand fatigue from overusing the brakes.
- In fog, rain, or heavy traffic, slow well below normal, leave extra stopping distance, and use van support if conditions feel unsafe.
Set Up Your Bike for Haleakalā Descents
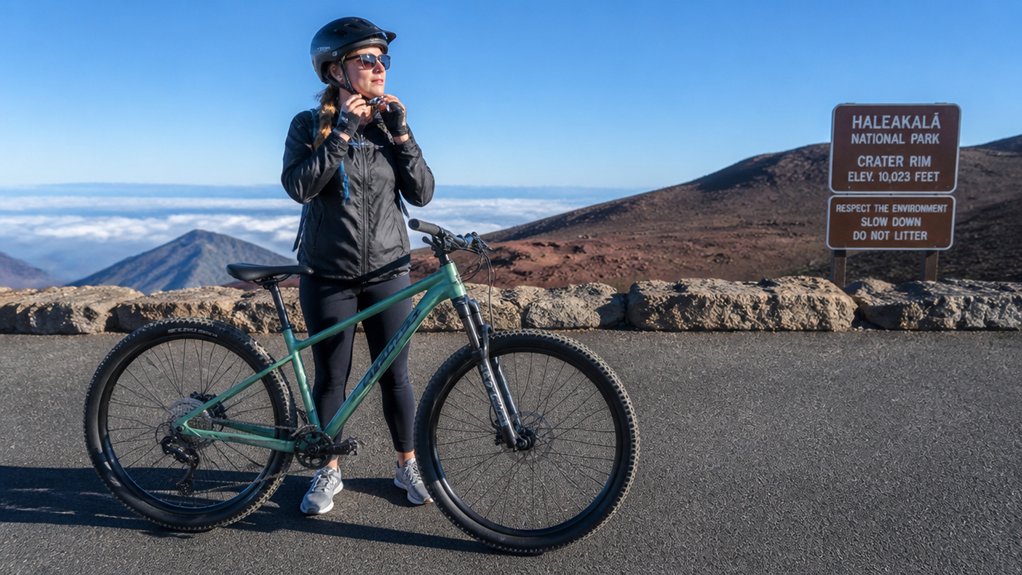
Start with fit, because a bike that feels right at the top of Haleakalā will feel far calmer when the road begins to drop away in long, windy ribbons. For Haleakala, choose a frame with a couple finger widths of stand-over space, then set the seat-post to match your usual position. If you’re using bike rentals, ask for the smallest Road Bike or touring frame that fits and take a short practice loop.
Before you roll onto Crater Road, squeeze both brakes again and again, check pad wear, and click through low gears. Add padded gloves and set the bars for a secure, slightly forward stance. Confirm your downhill bike includes a pump, tube kit, and basic tools. Also ask about van support or bailout options. Mid-mountain surprises aren’t charming here. Many riders also ask about tour safety, so a careful bike setup and clear support plan can make the Haleakalā descent feel much more manageable.
Practice Braking and Cornering on Downhills
Once the bike fits and your brake check feels solid, spend a few minutes teaching your hands what downhill control actually feels like. On a gentle mountain grade, practice progressive braking and notice the quiet bite of the front brake.
- In the staging area, do short drills. Confirm the bike stops within 10 to 15 feet from 15 mph. Warm wet pads too.
- Use the front brake for most stopping power, then feather the rear so it doesn’t skid as speed builds.
- For cornering, bend elbows and knees, shift slightly back, and look through the turn. Keep your line smooth.
- Choose a low gear for long downhill stretches near Haleakala National Park. Across skill levels, practice emergency stops and turn exits. If your hands cramp, pause, walk, or ride support.
On longer descents, use progressive braking to protect your hands and avoid overheating them.
Manage Speed, Weather, and Hairpin Turns
Before you roll into a long descent, click into a low gear and test your brakes on a short stretch so you don’t spend the whole ride clamping the levers and cooking your pads. On Haleakala, speeds can hit 30 to 35 mph, so practice controlled braking and stay loose. Be especially alert to traffic conditions on Haleakala bike tours, since what you can expect on the road may change how early you brake and how much space you leave.
| Scene | What you do | What you notice |
|---|---|---|
| Dry pavement | Use low gears early | Tires hum cleanly |
| Fog or rain | Slow far below normal | Visibility shrinks fast |
| Hairpin turns | Brake before turning | Guardrails flick by |
In wet weather, add space and expect longer stops. Rain often makes riders sharper, not slower-witted. For hairpin turns, finish braking upright, look through the corner, and roll a safe speed. If conditions feel wrong, take the support van.
Frequently Asked Questions
How Can I Safely Transport My Bike to the Trailhead?
You can safely transport your bike using a hitch carrier or roof rack with fork mount security. Follow disassembly tips, use padding methods, pack soft panniers carefully, or protect it in a bike box.
What Protective Gear Beyond a Helmet Should Beginners Wear?
Like armor for adventure, you should wear gloves longfinger, knee pads, elbow guards, impact shorts, and body armor; add a neck brace for rougher descents. If terrain gets steeper, you’ll also want a full face helmet.
Should I Ride Alone or With a Buddy on Downhill Routes?
You should ride with a buddy, not alone. Choose a Ride partner with Skill matching, use Communication signals, agree on an Emergency plan, set a Pacing strategy, confirm Trail navigation, and divide Shared responsibilities.
What Should I Pack in a Basic Downhill Repair Kit?
Pack a spare tube, multi tool, flat kit, chain quicklink, tire levers, mini pump, and patch kit; like a pit crew saving a racer in seconds, you’ll fix flats, tighten bolts, and keep rolling.
How Do I Stay Hydrated and Fueled During Long Descents?
Stay hydrated and fueled by following a sip schedule, using an electrolyte strategy, and planning calorie timing. Carry compact snacks, use cooling techniques, watch caffeine management, and prioritize stomach comfort throughout your descent.
Conclusion
With your bike dialed in and your braking practiced, you’re ready to meet Haleakalā on its own terms. Start easy, keep your speed honest, and let each turn come to you. The road coils like a ribbon through dry lava slopes, cool mist, and sudden sun. Listen for tire hum, feel the wind on your sleeves, and stay flexible. If weather shifts or your legs cramp, take the van. Smart riders finish smiling and safely.